Make: Linking Turbo with Google Sheets
First of all, we need to define our Google Sheet and the data we would like to capture.
For this example, I have defined these columns in a Google Sheet:

Now in Integromat, we talk about building Scenarios: (the Zapier equivalent is a Zap)
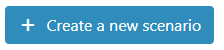
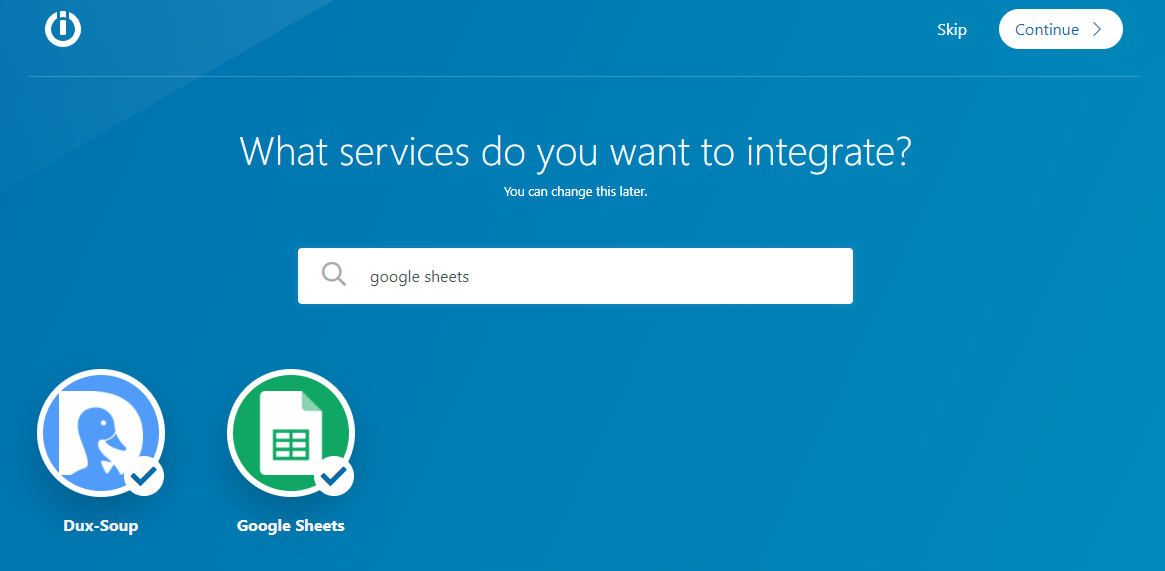
- Chose to integrate Dux-Soup and Google Sheets and then press continue (top right)
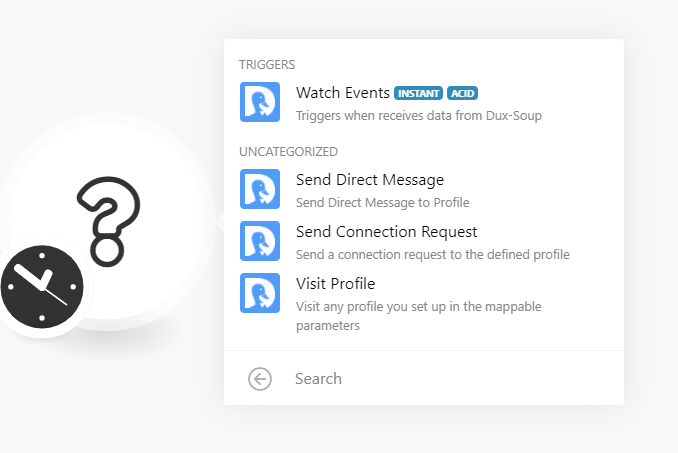
- You will need to set up the webhook to listen for Visit events:
Select Dux-Soup and the Watch Events (the equivalent of a catch hook in Zapier)
- Now Add a webhook and give it a name (in this example I have used Visit Data)
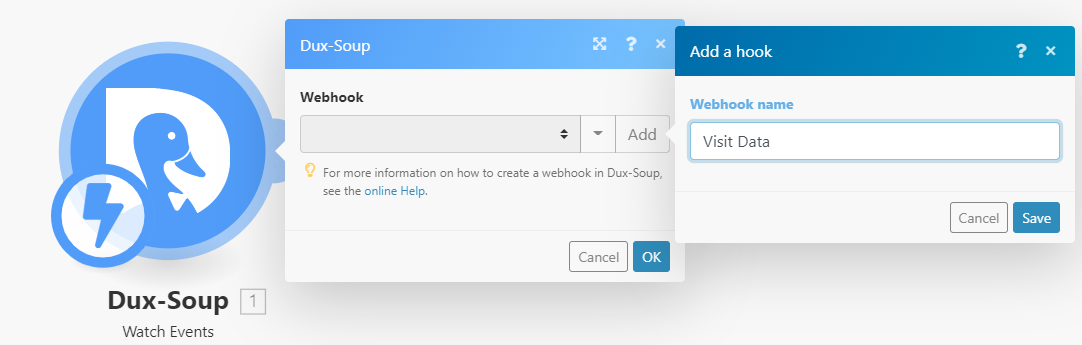
- Pressing Save will then generate you your unique url for your webhook - which you can copy and paste into your Dux-Soup Options -> Connect tab:

For this example, we are only interested in Visit data, so that is the only Event we will select.
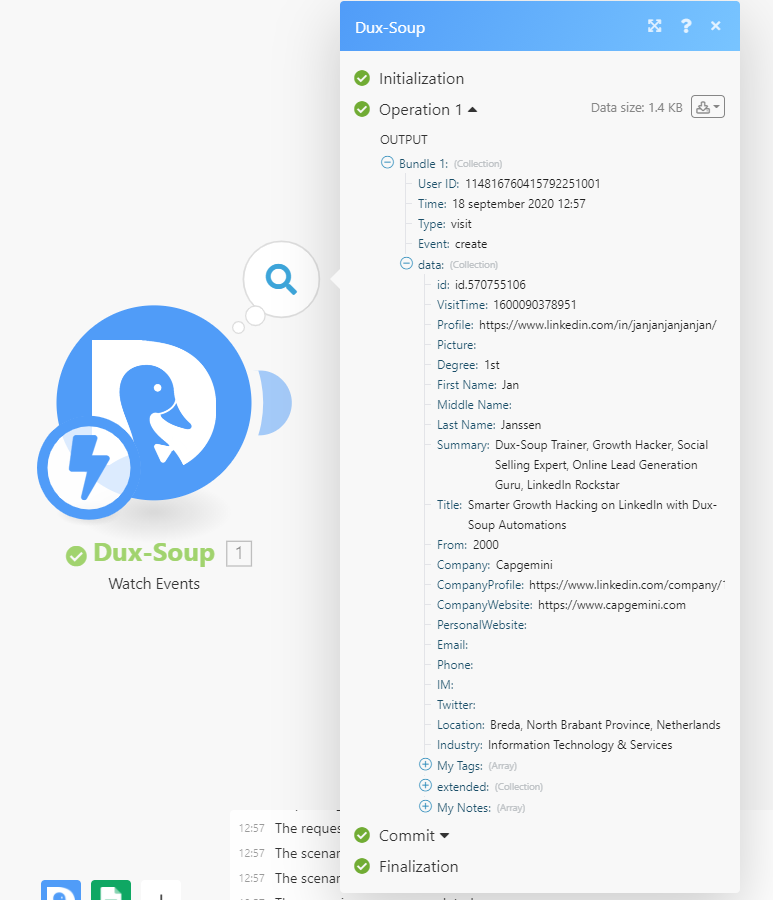
- Now, to capture your sample data, single right click on the Dux-Soup module and select Run This Module Only
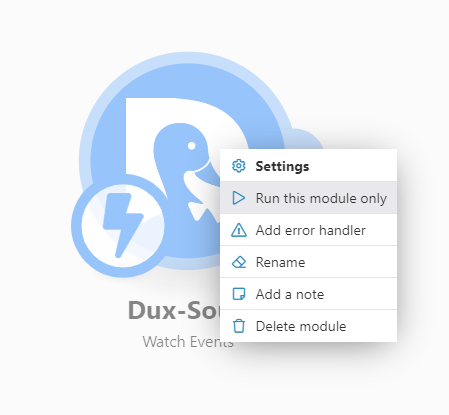
- This will enable the module to listen for data and you can then send your sample data from Dux-Soup, Options, Connect tab - Webhooks.

- Once the sample data has arrived, there will be a white tick on a green background against the Dux-Soup module within Integromat and you can then look at the data that has arrived by clicking on the magnifying glass. NOTE: only one Event will be visible at a time - you will need to run the module again and ‘process existing’ to get further data (e.g.create/update events)
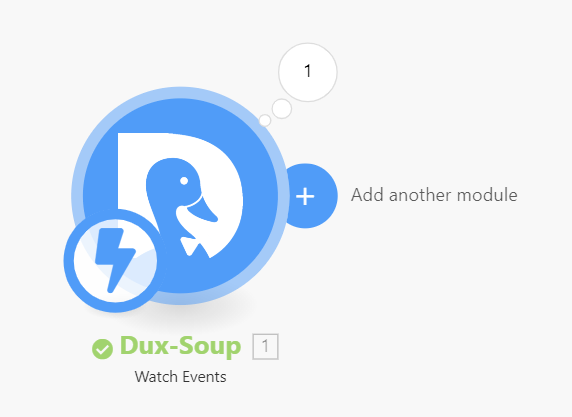
- Now that we have some data, we want to do something with it - and in this case that will be to add another module (Google Sheets) - so press the + button:
- And when you select Google Sheets you will get a long list of different options - in this case, we simply want the top item:
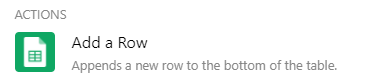
NOTE: you can choose to update rows, search rows etc here - in the same way, you would in Zapier
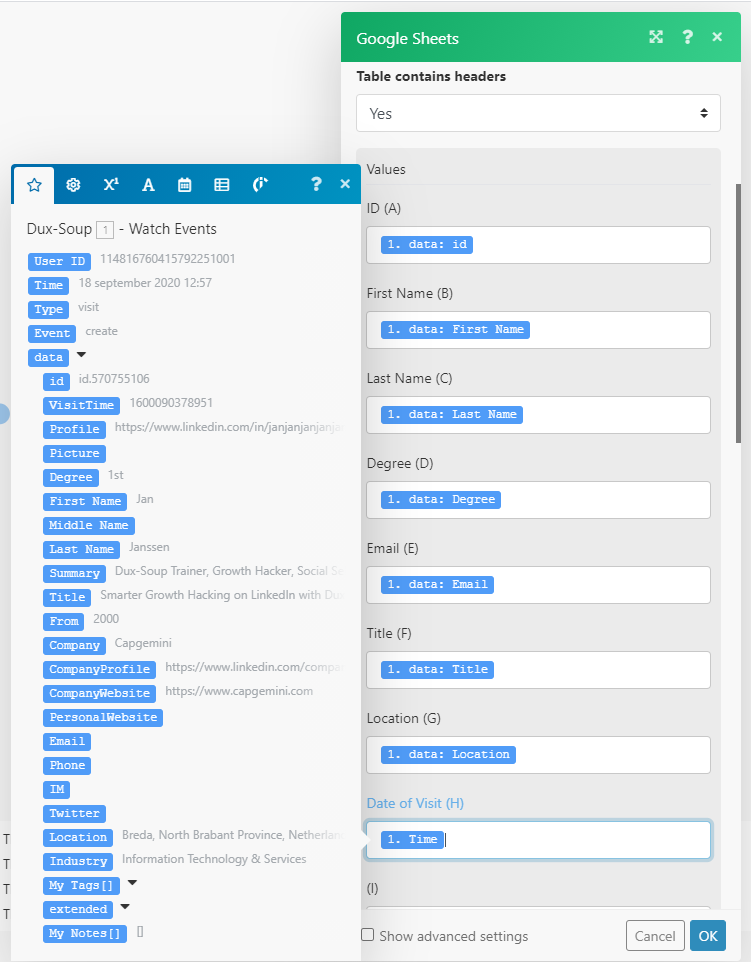
- Once you have linked your Google Account, you can then select the Google Sheet you wish to update and once you have done, that you can start to map the appropriate data fields across:
Once you have done this, make sure you name your Scenario (top left) and save it (bottom left)
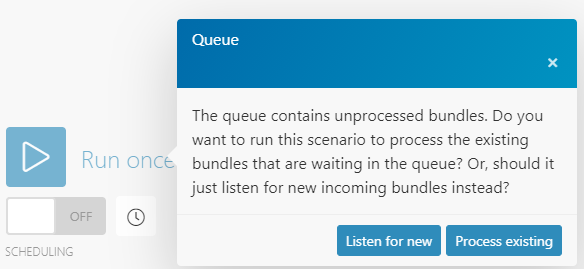
- If you now press the ‘play’ (Run Once) and then Process Existing option, you should see the sample data arrive in your Google Sheet:

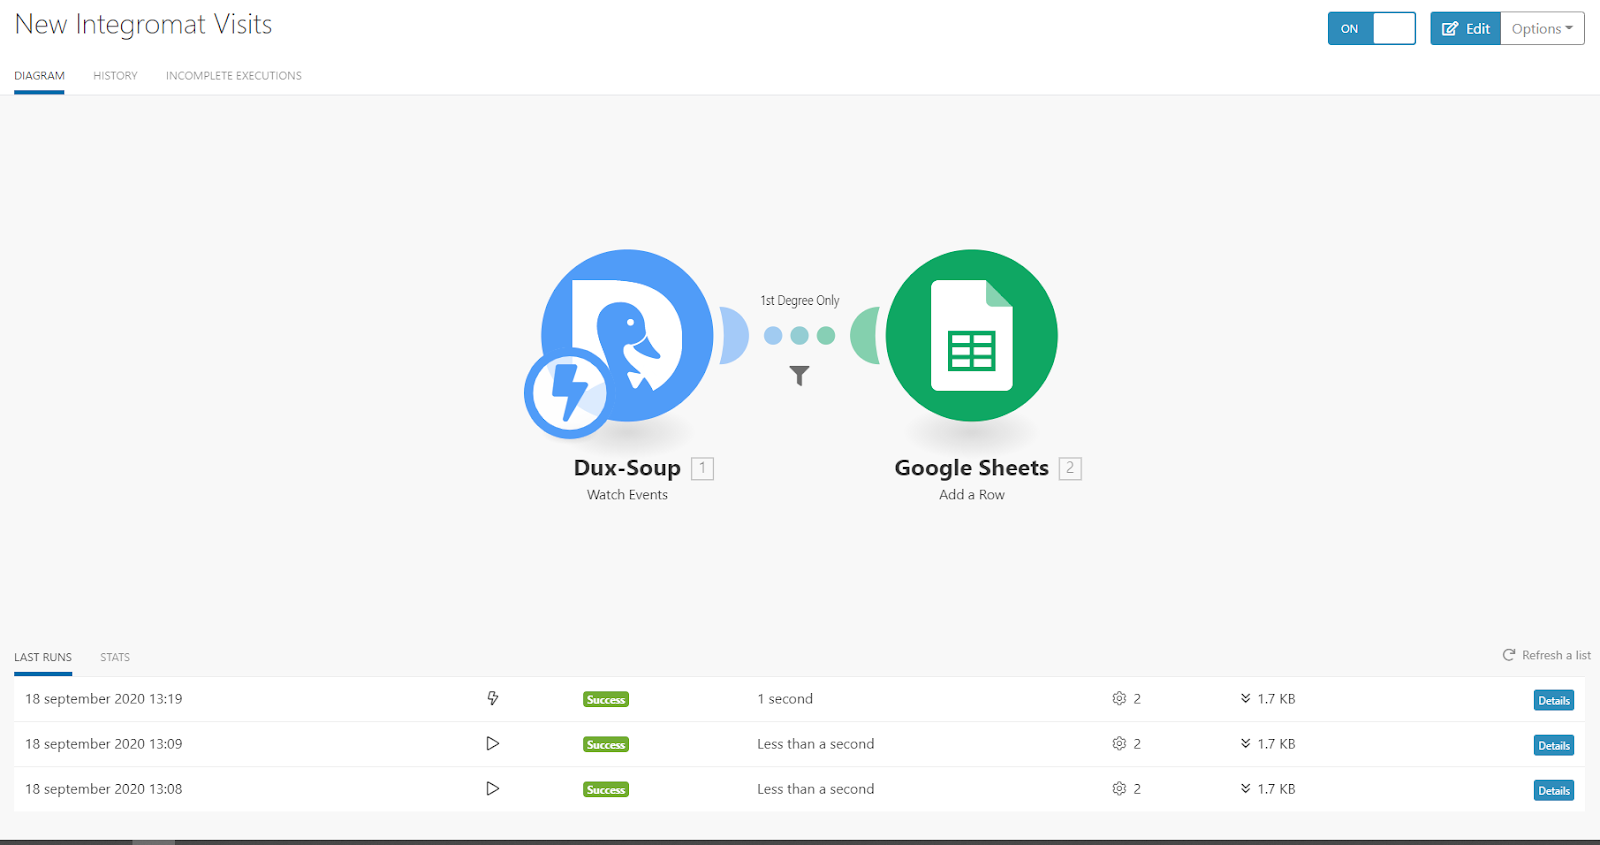
If you are happy with what you have configured you can now enable your Scenario by pressing the Scheduling button in the bottom left-hand corner.
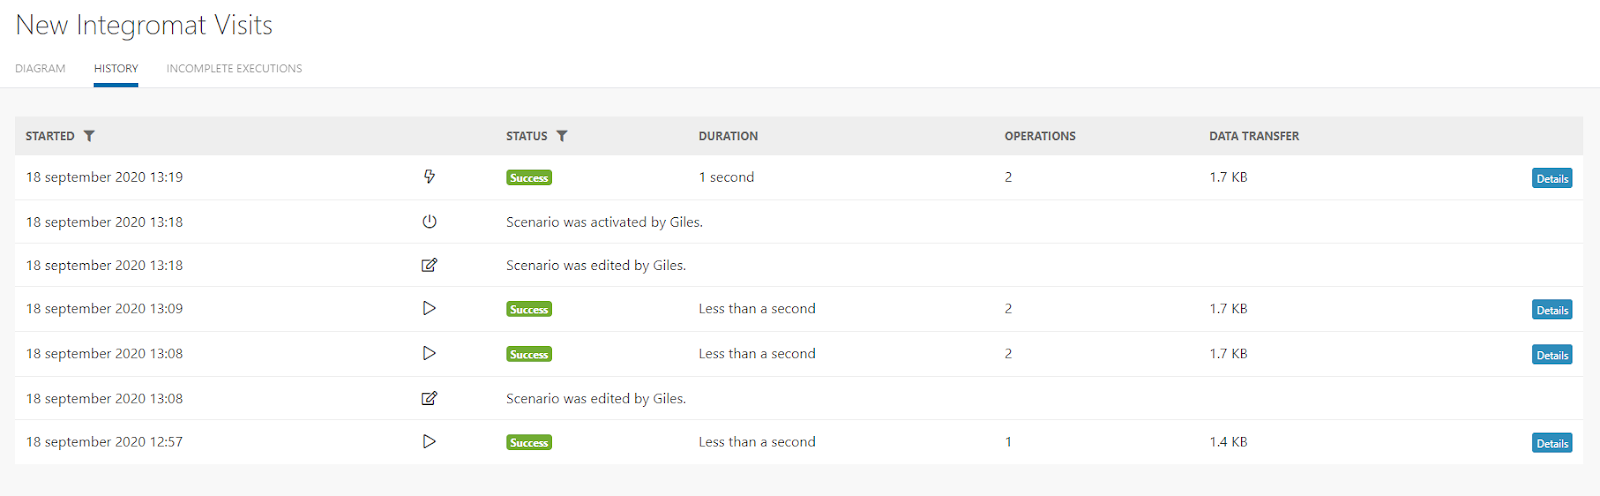
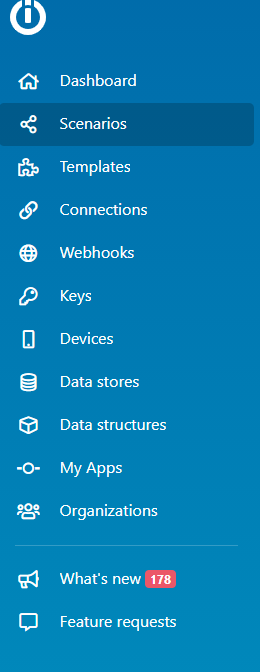
To monitor the activities of your Scenarios, you can go to the left-hand menu bar, select Scenarios, click on the Scenario you wish to check on and you will see the activity history there where you can monitor and check the activity.