
Create your first drip campaign
Drip campaigns let you automate your LinkedIn outreach by sending a sequence of actions over time. You can combine connection requests, messages, follows, profile visits, endorsements, InMails, and delays into a single workflow.
STACKED supports multiple drip campaigns, allowing you to organise outreach for different audiences while keeping your campaigns independent.
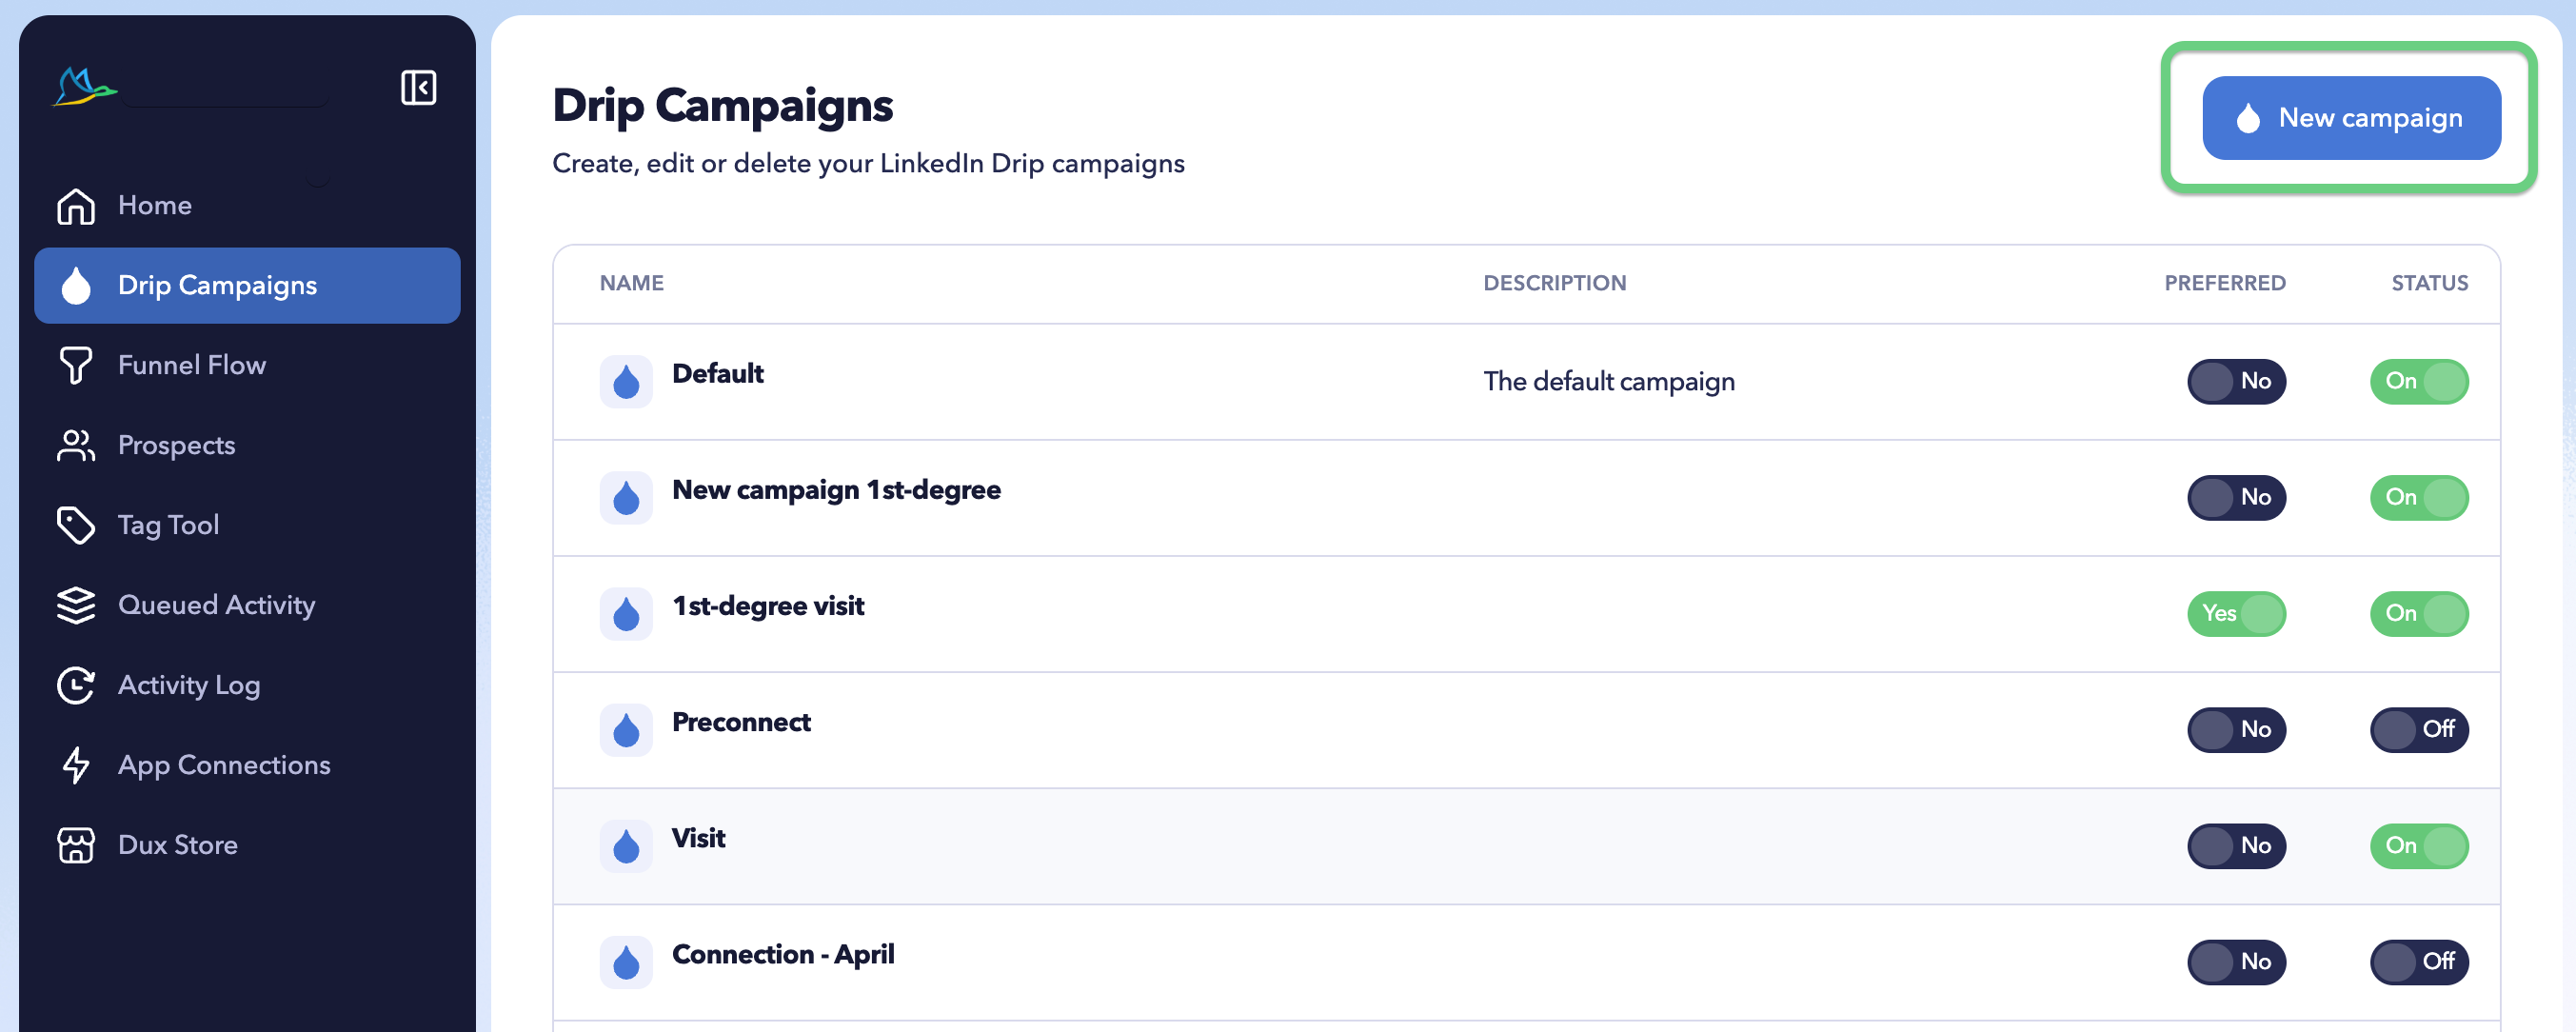
Step 1 - Open the New Campaign panel
Open the New Campaign panel within the Drip Campaigns page.
To access this page:
- 1 Open the STACKED application.
- 2 Select the STACKED tab.
- 3 Click Drip Campaigns.
- 4 Click New Campaign.
- 1 Open the Dashboard .
- 2 Click Drip Campaigns.
- 3 Click New Campaign.
Step 2 - Choose campaign actions
After creating the campaign, choose which actions STACKED should perform.
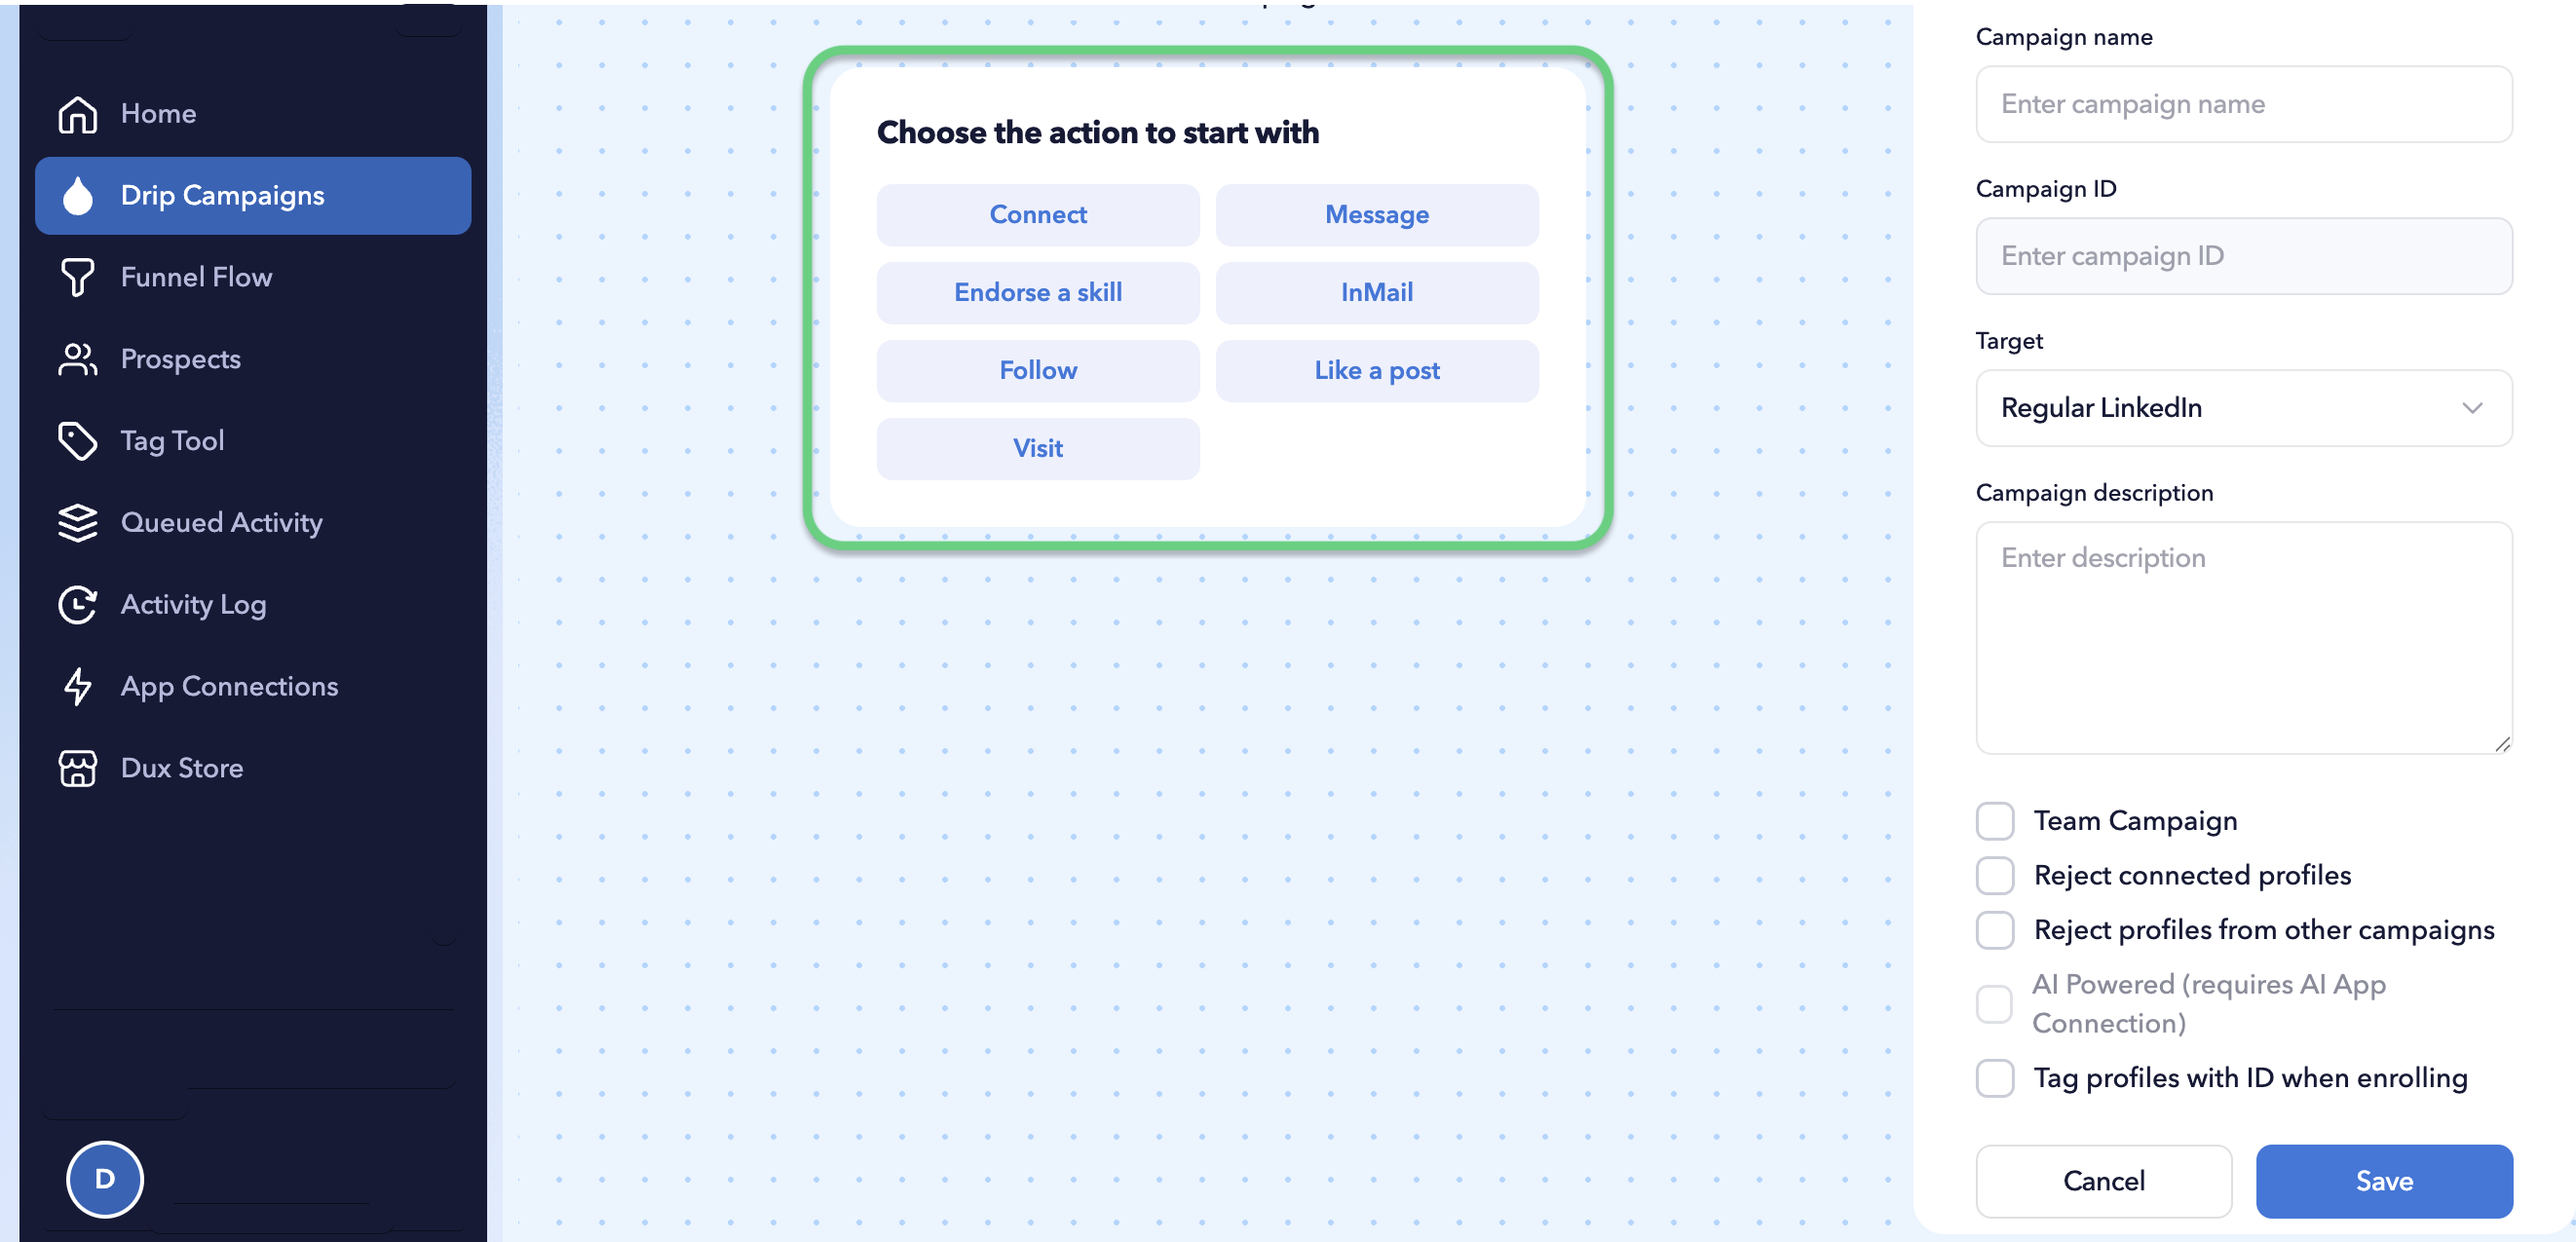
Available campaign actions:
|
Connect Message Endorse a skill InMail |
Follow Like a post Visit |
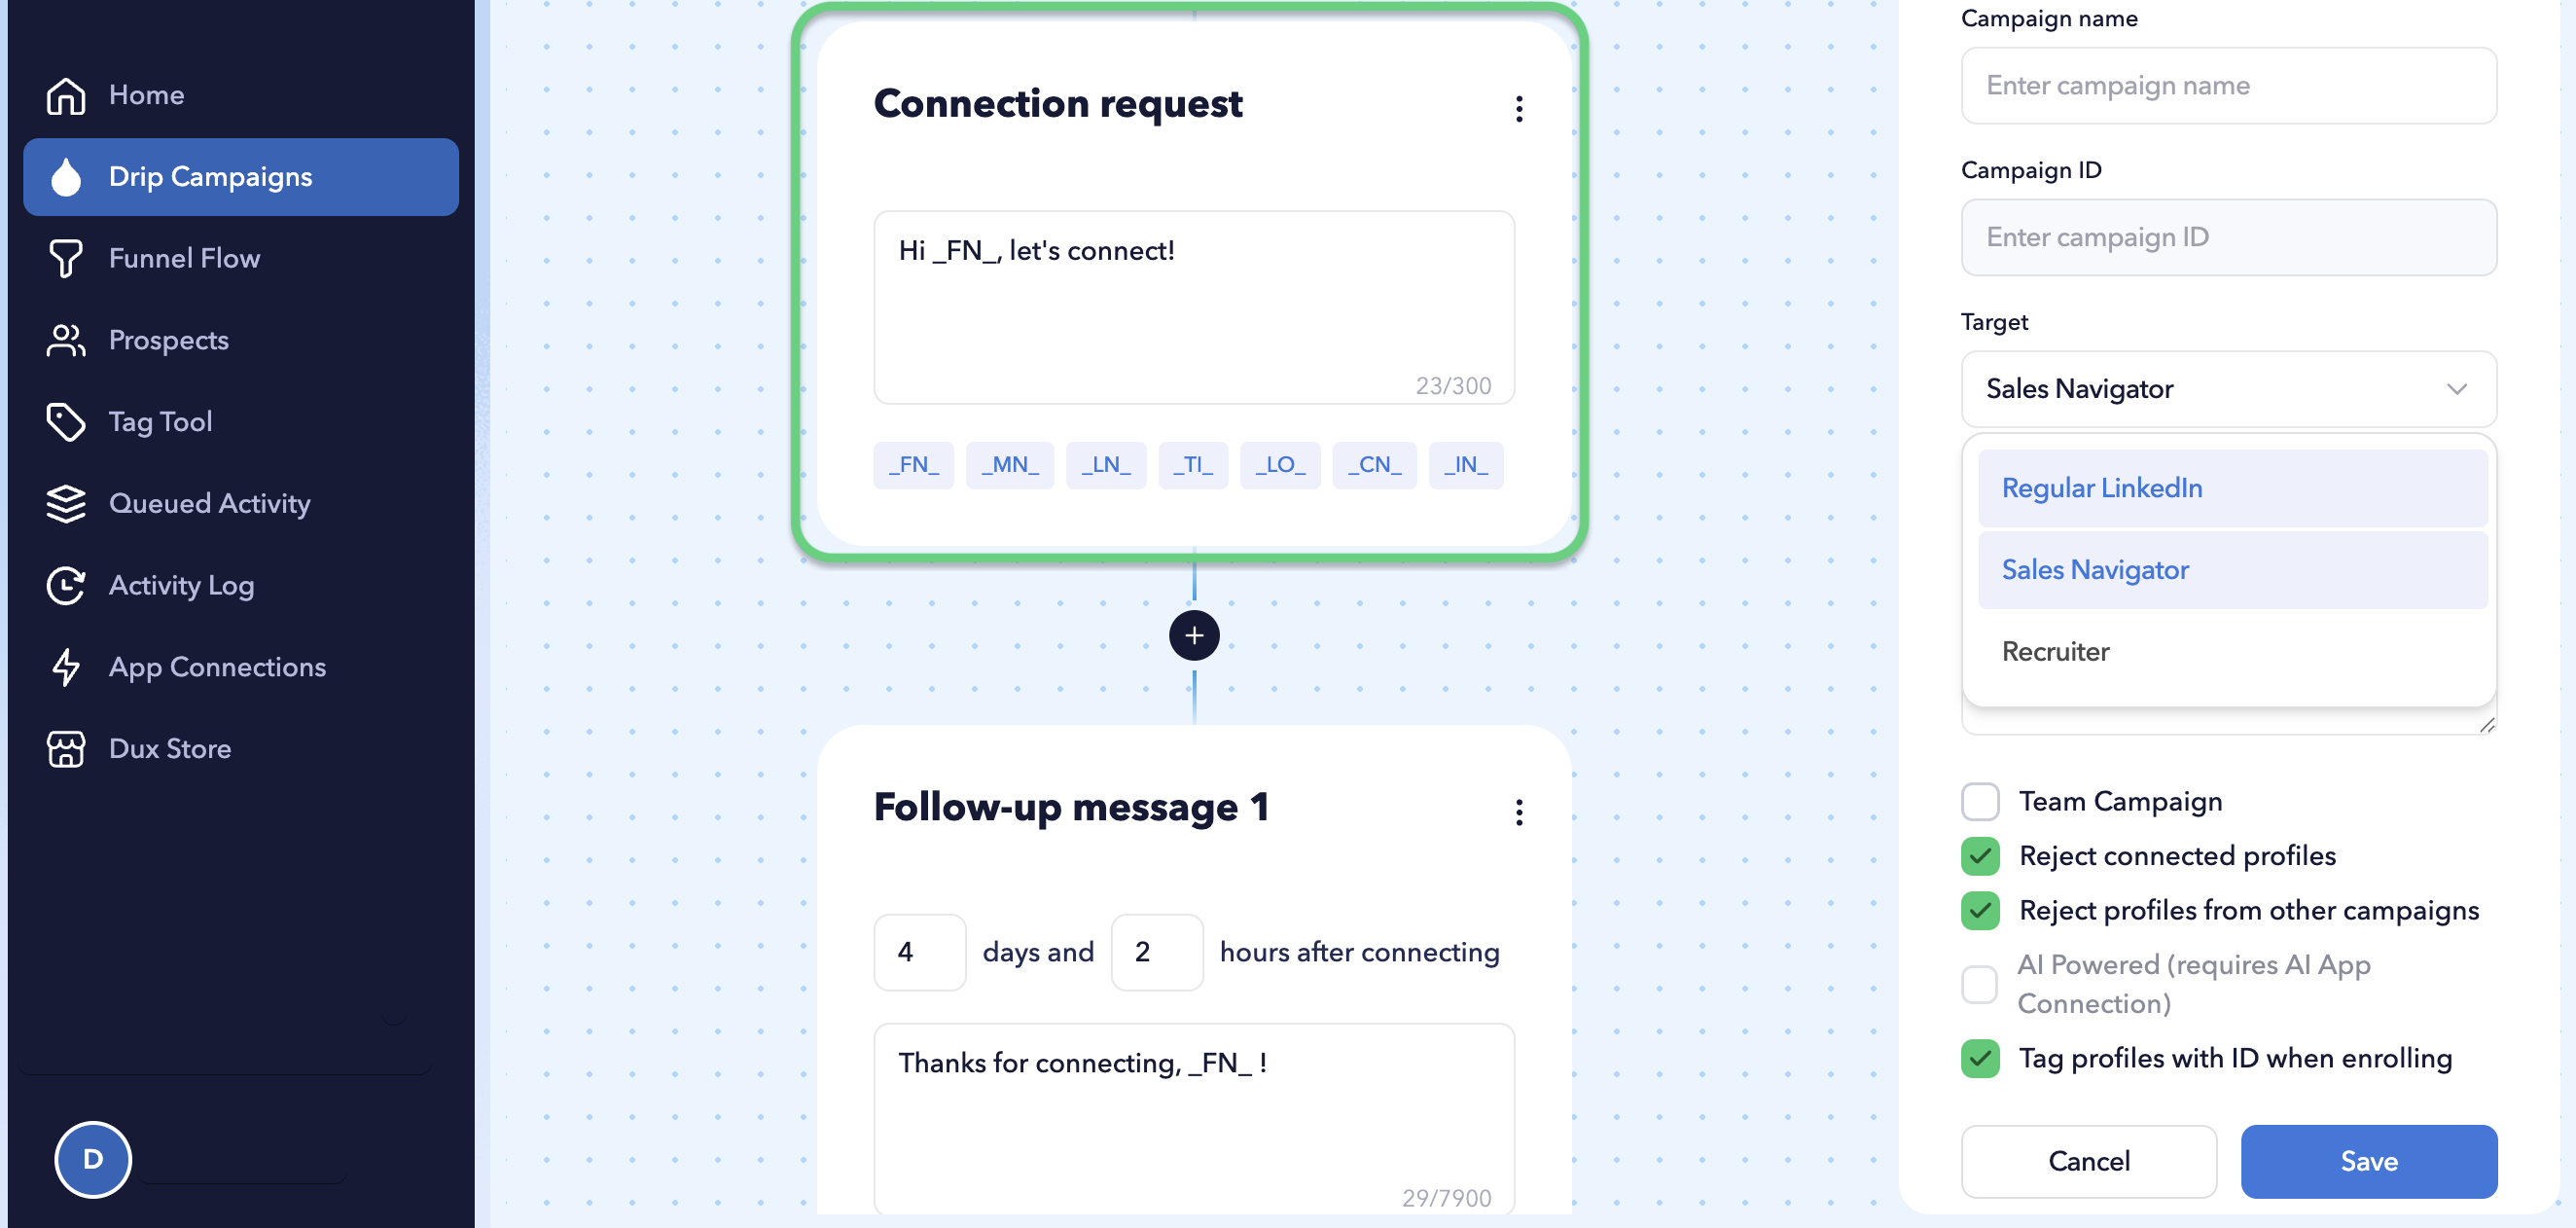
Step 3 - Write your message
Compose the message that will be sent to your prospects. You can use personalization variables to make each message unique.
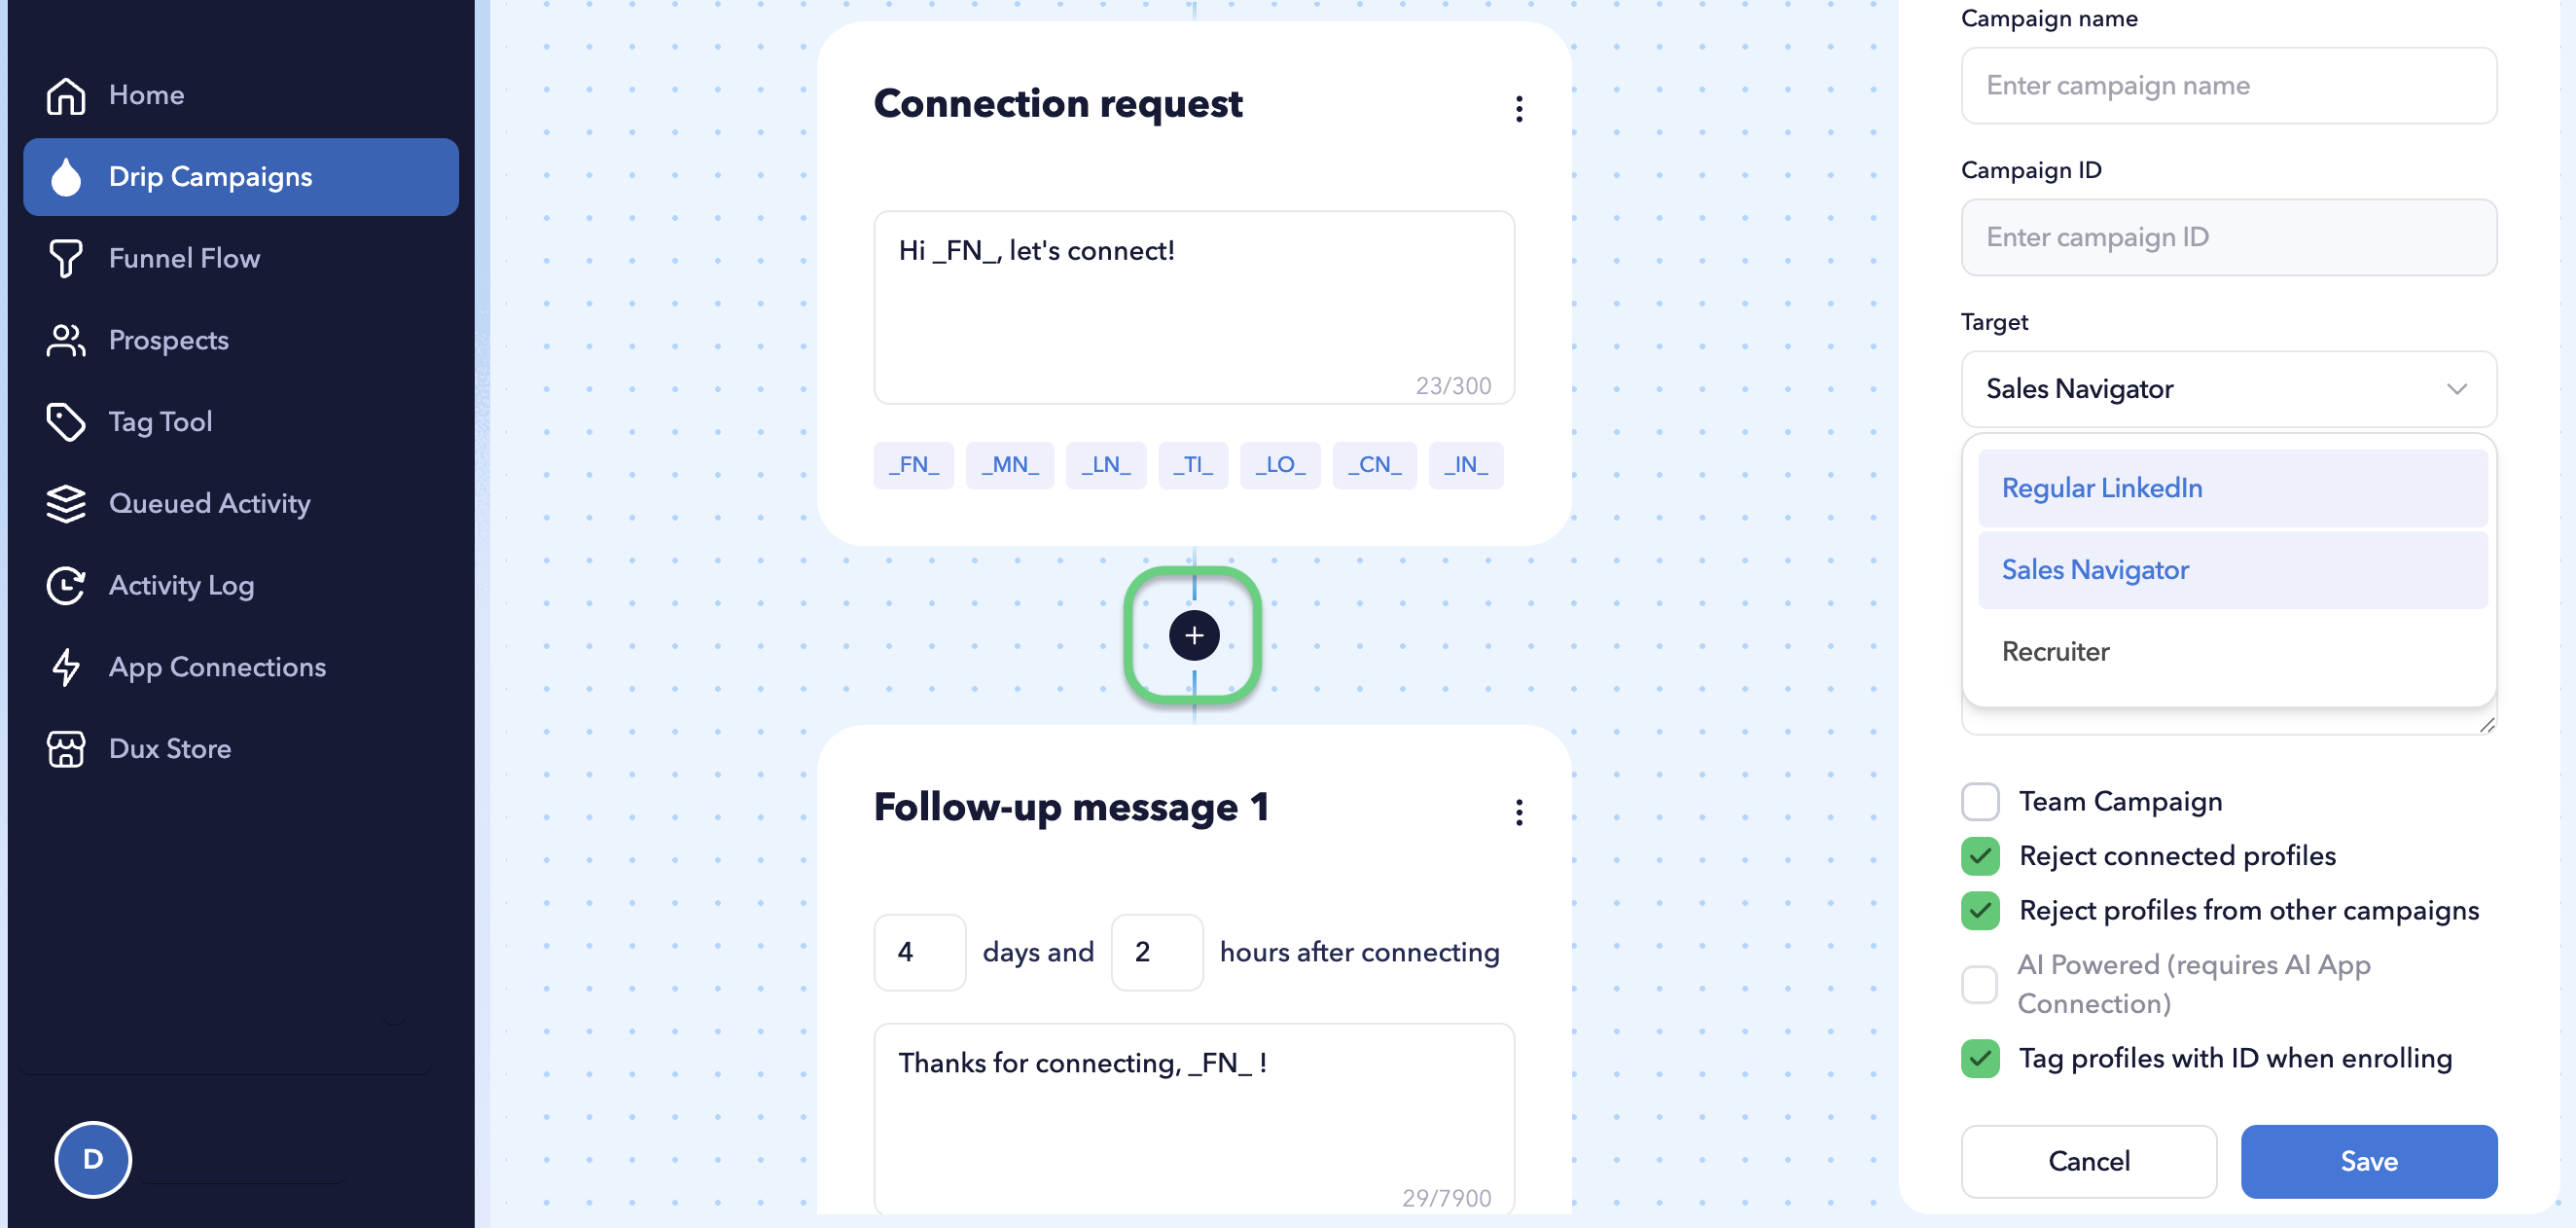
Step 4 - Add a follow-up action
Add a follow-up action by clicking the + icon.
Step 5 - Add delays between actions
Insert delays to control when the next action should run.
For example:
- Wait at least 2 days after connecting
- Wait at least 5 days before sending a second follow-up
- Wait at least 3 days before endorsing a skill
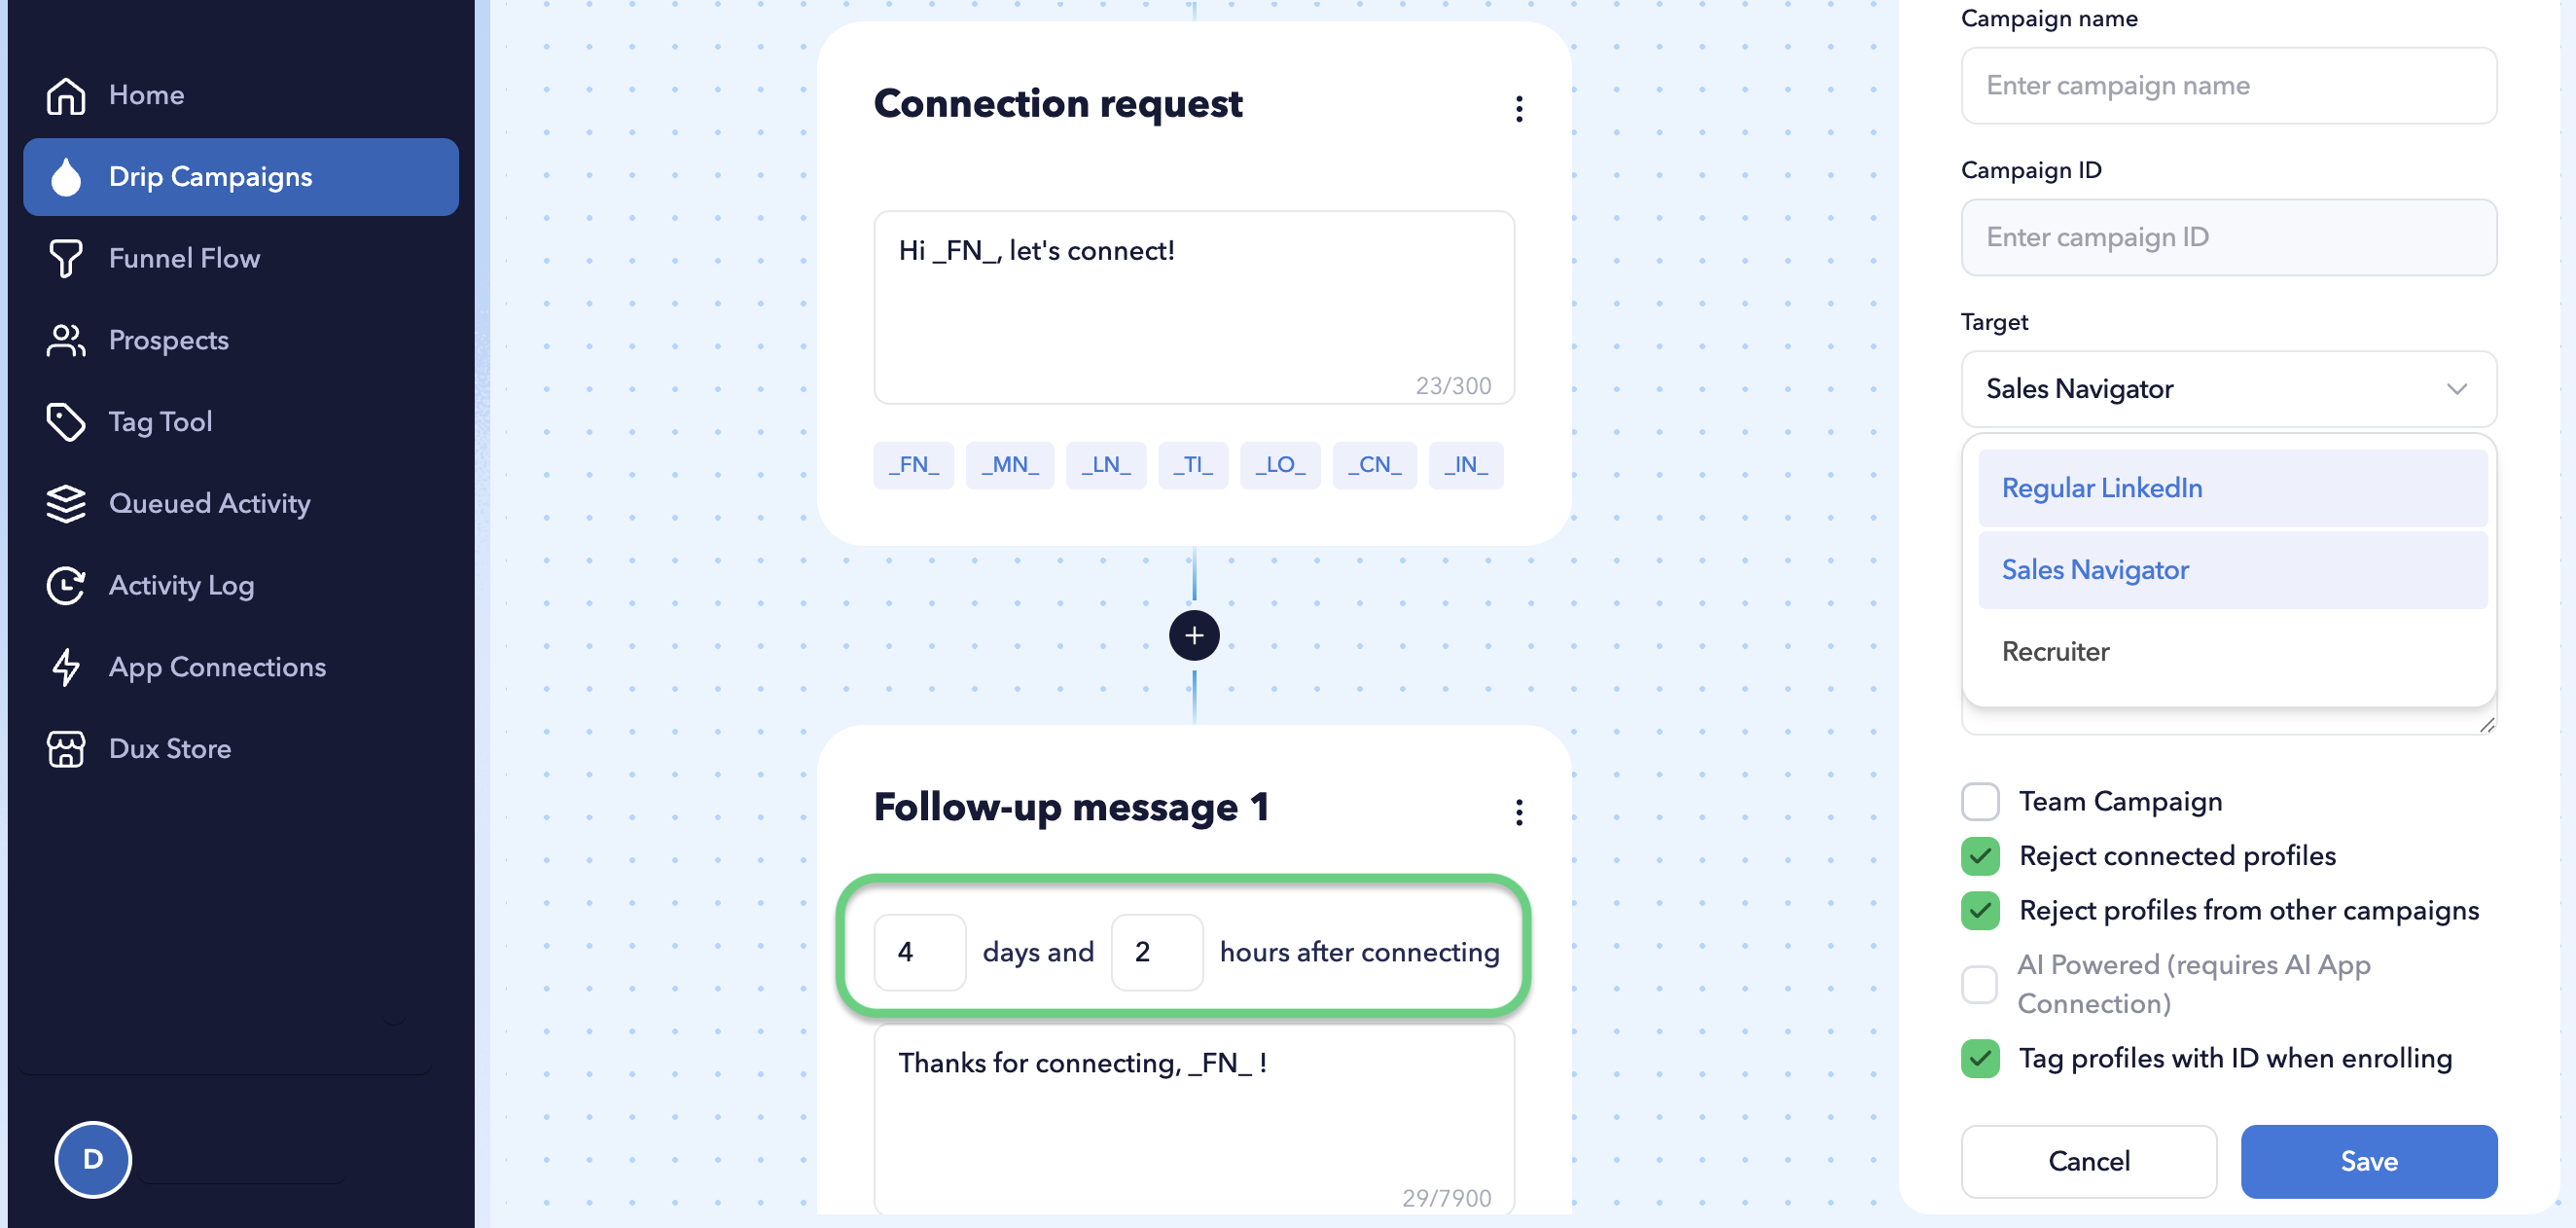
The delay is counted from the time the previous action was sent successfully.
Step 6 - Configure campaign settings
When your sequence is complete:
- Give the campaign a meaningful name.
- Select the LinkedIn inbox to use.
- Apply campaign attributes if required.
- Click Save.
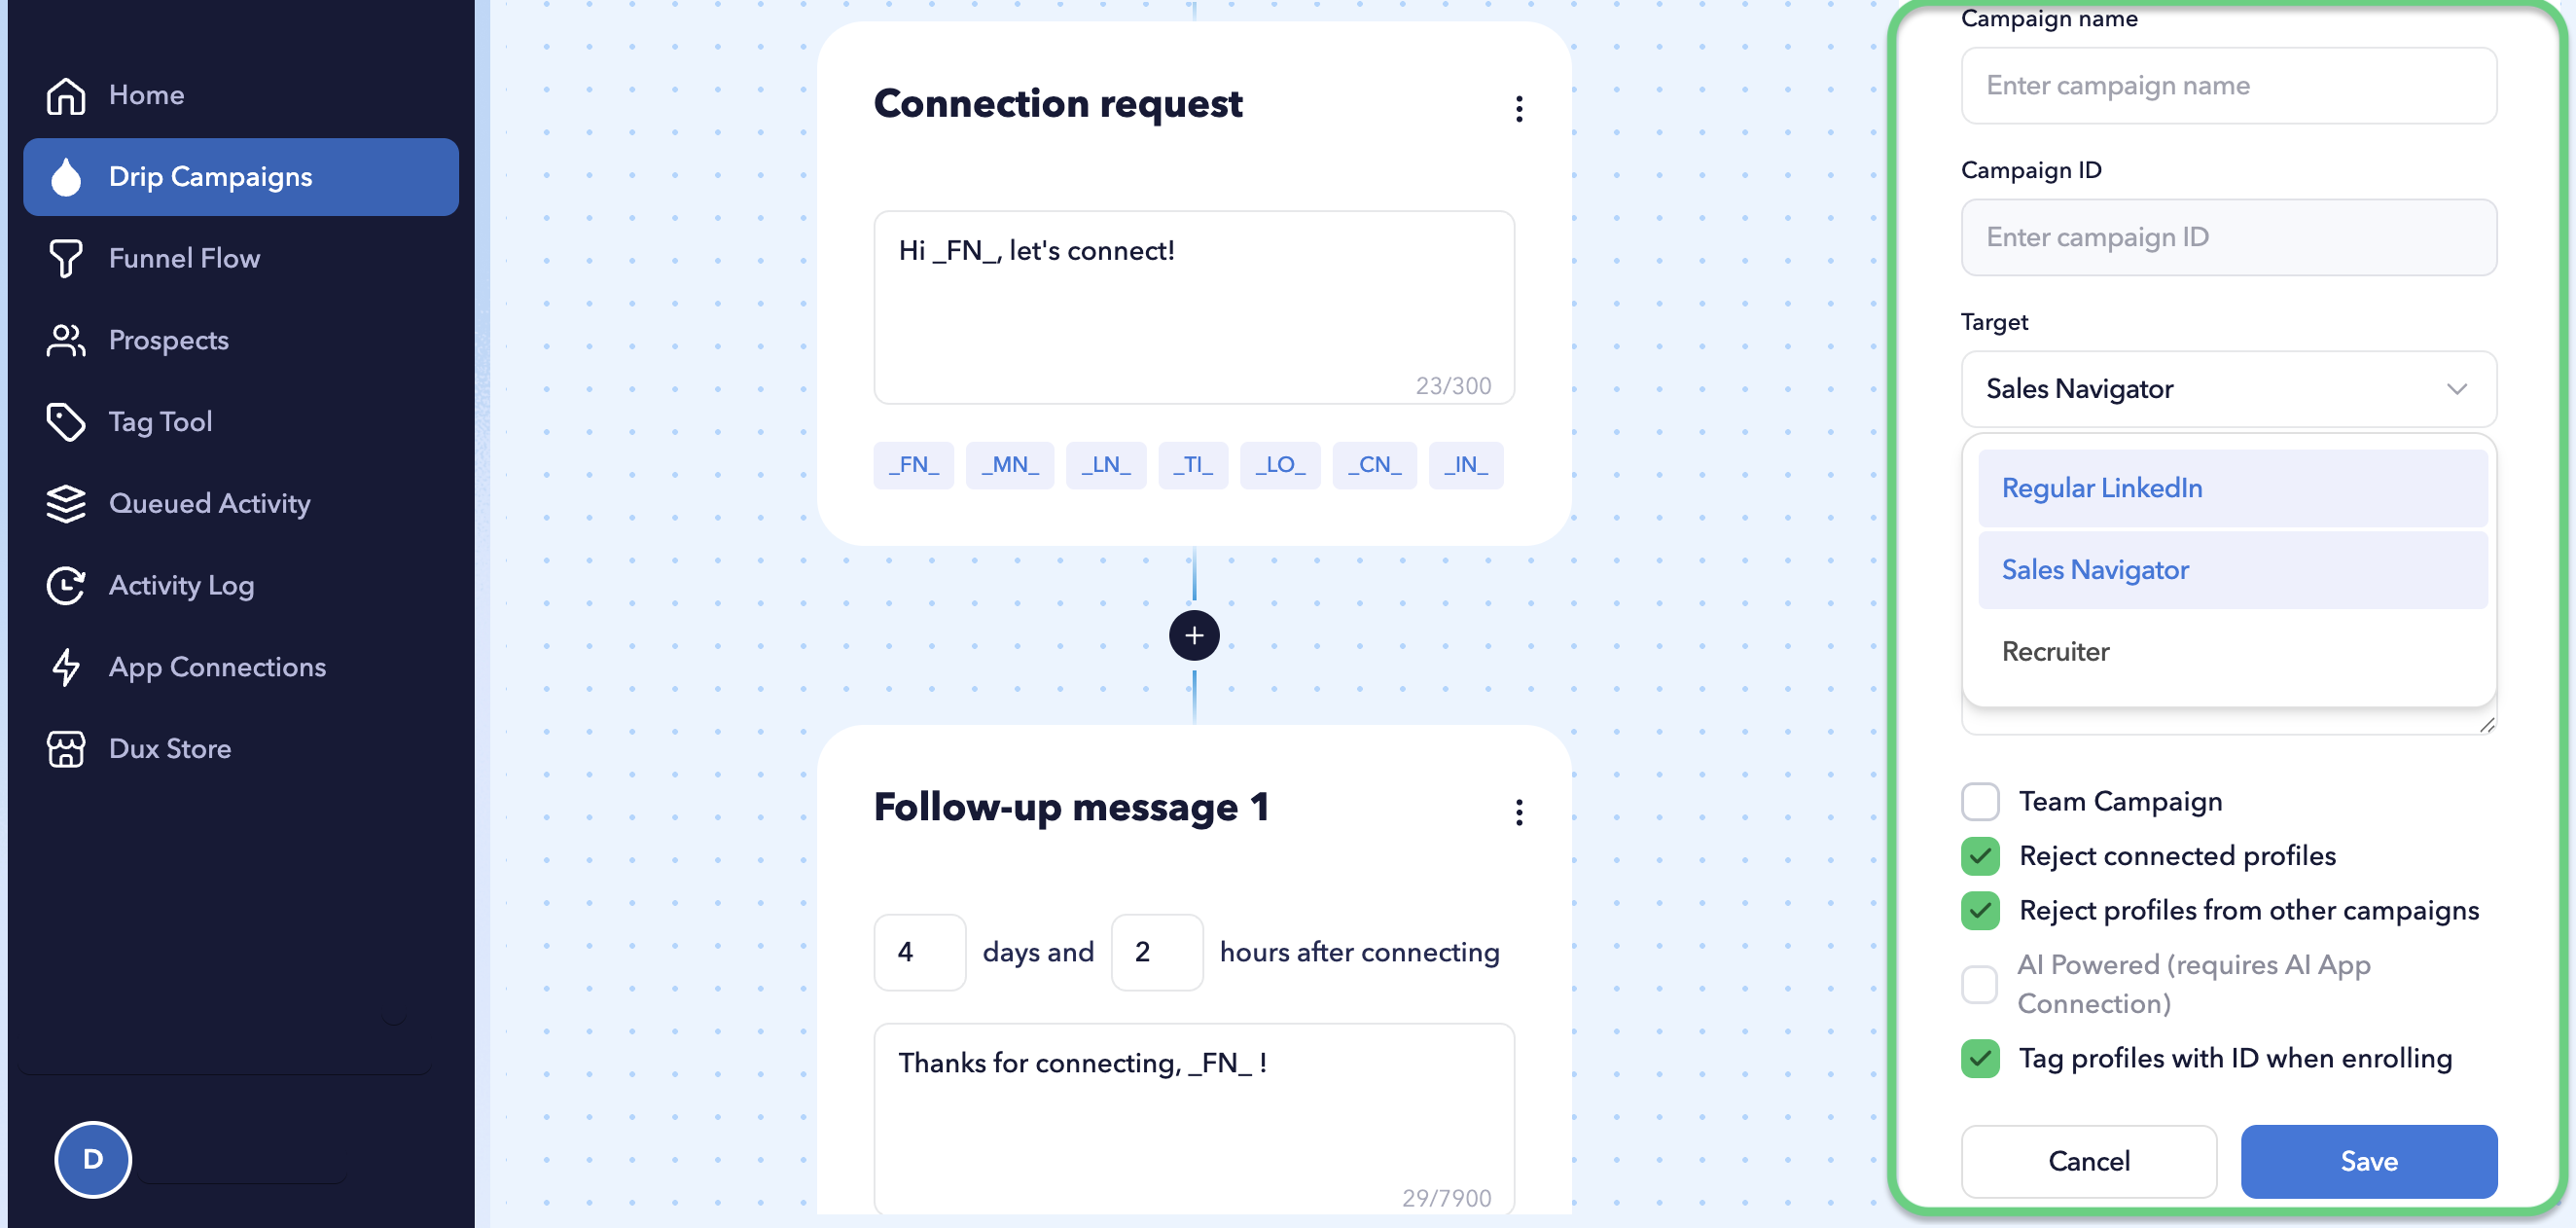
Available campaign attributes include:
- Team Campaign: reject profiles enrolled by your team members (plans with pre-paid seat plans only)
- Reject connected profiles: skips first-degree connections
- Reject profiles from other campaigns: skips profiles enrolled in other campaigns
- Tag profiles with an ID when enrolling.