
Installing Hubspot CRM Connector
You can access the HubSpot CRM integration if you have a paid STACKED plan.
To install the HubSpot CRM Connector:
- Log in to your HubSpot CRM account at https://app.hubspot.com/home.
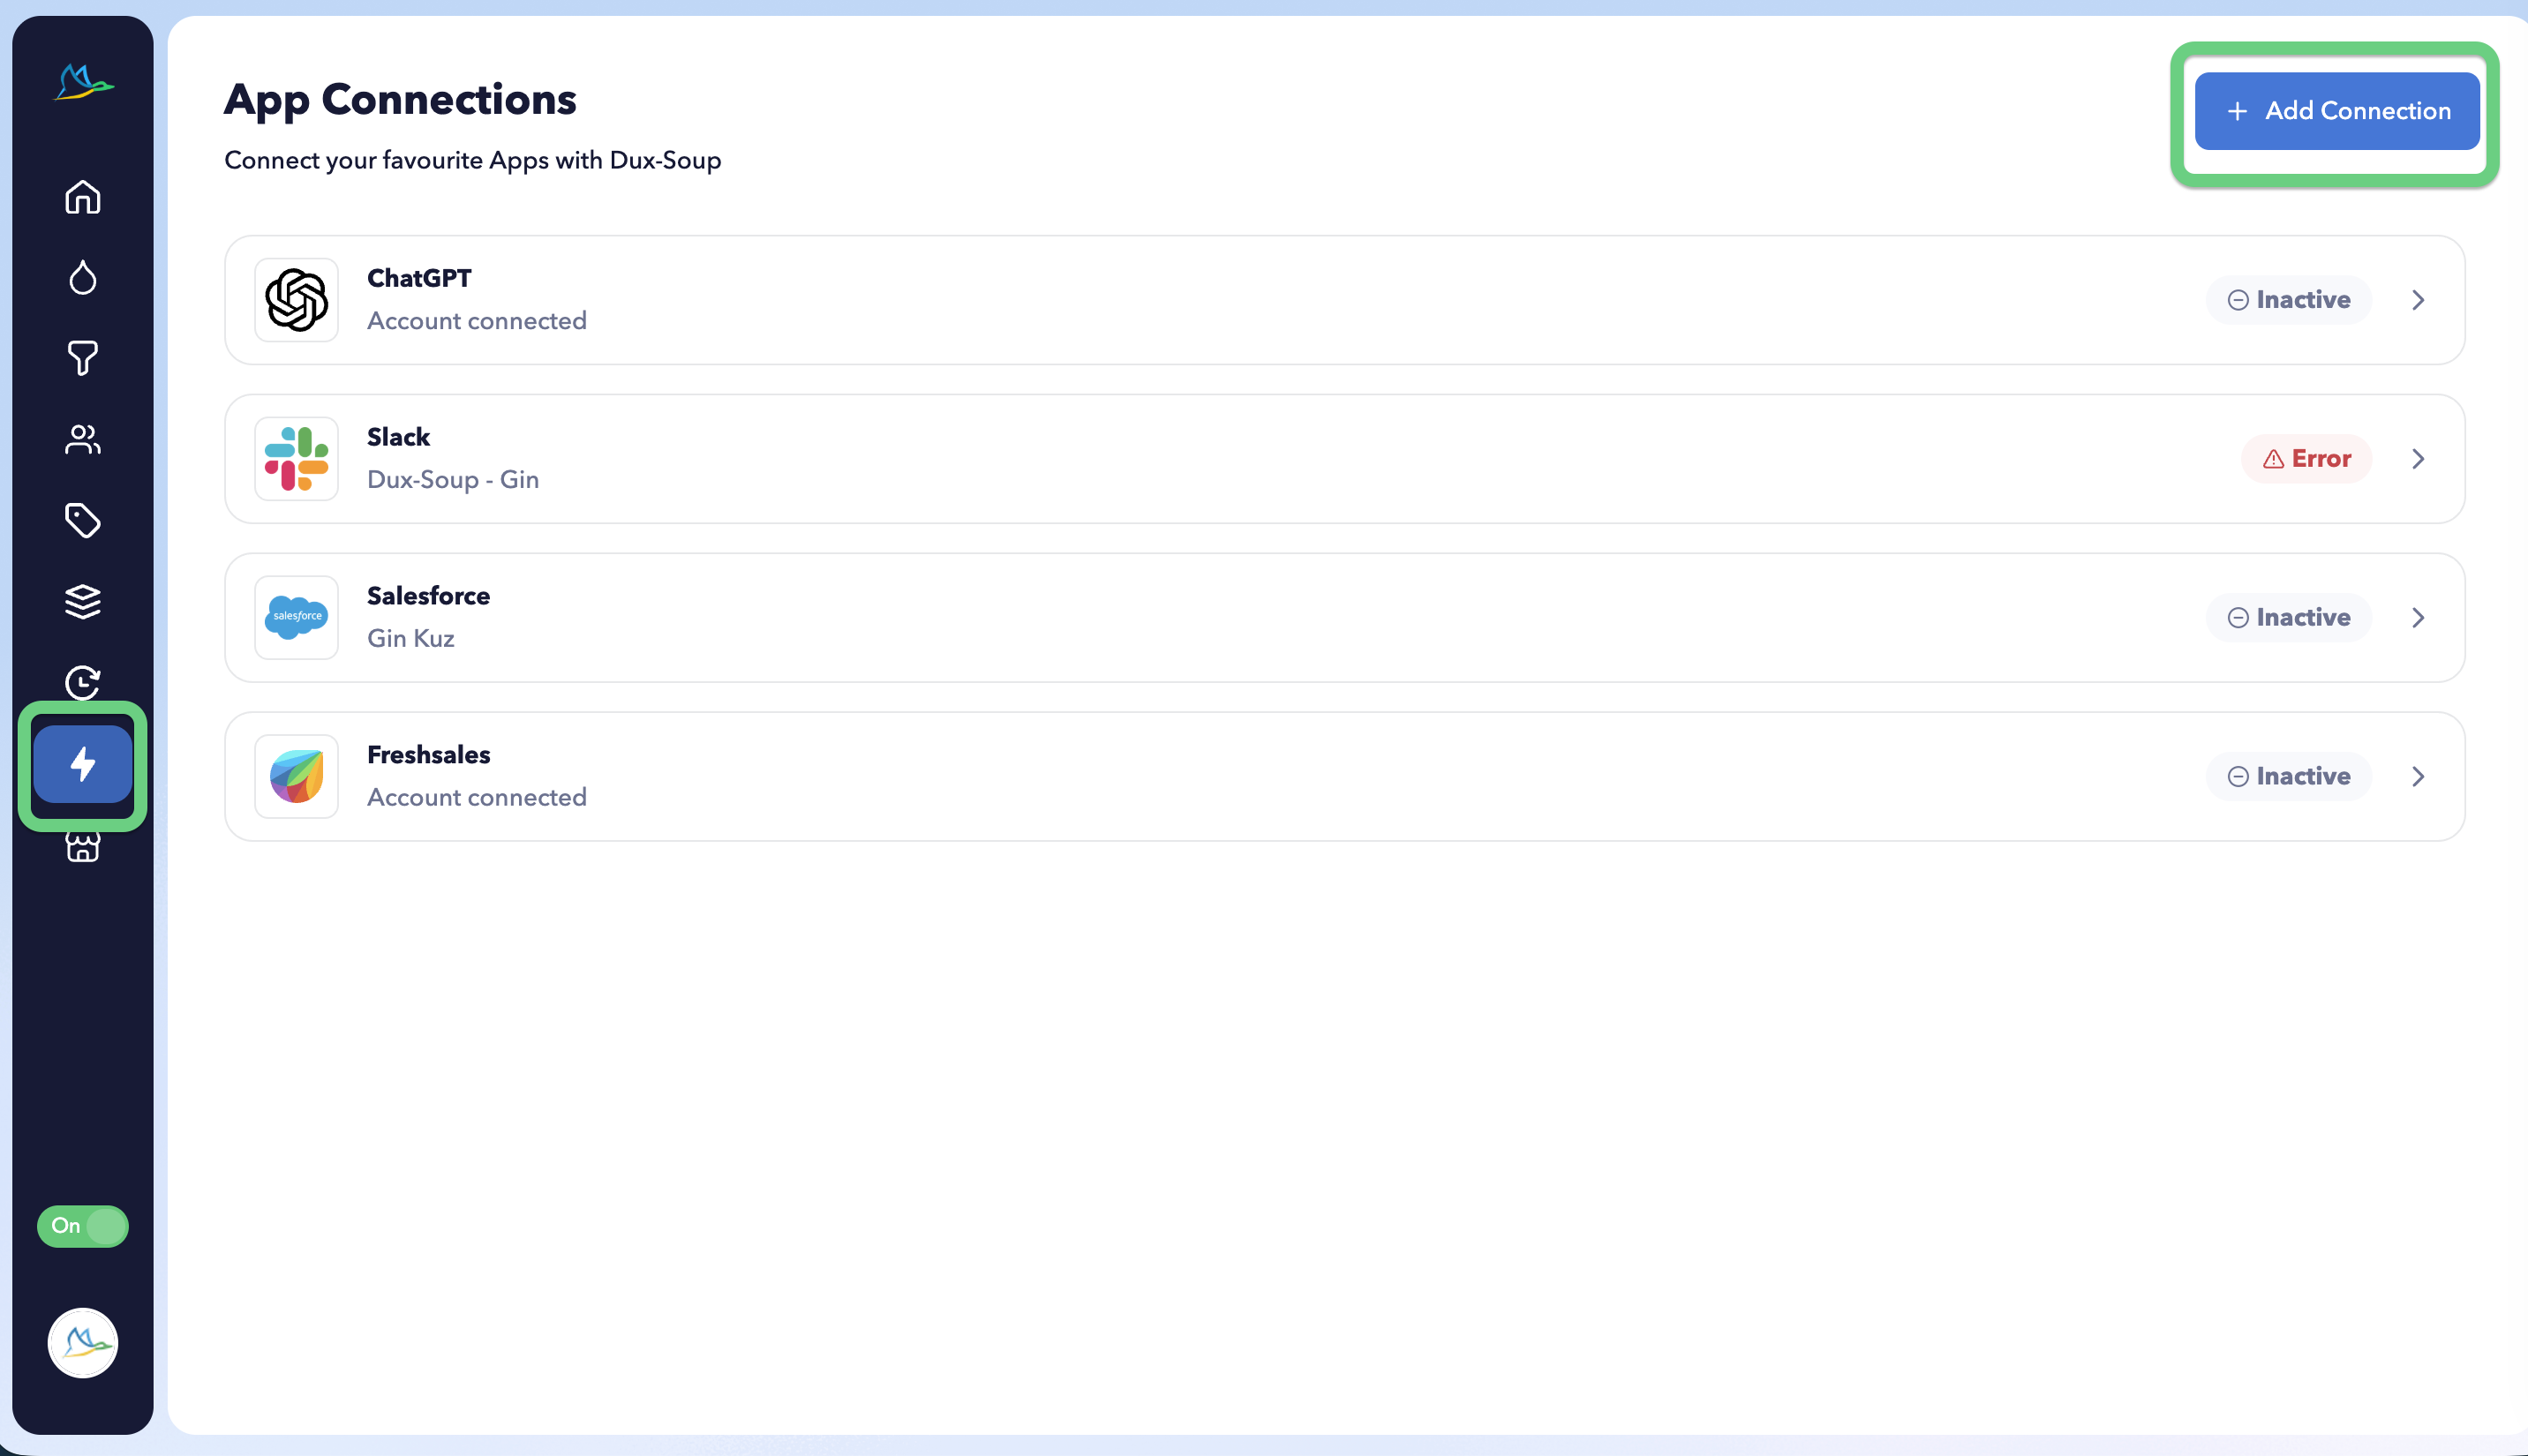
- Navigate to the STACKED Dashboard and open the App Connections page.
- Click the +Add Connection button and select HubSpot from the options.
- Click on the Connect App button:
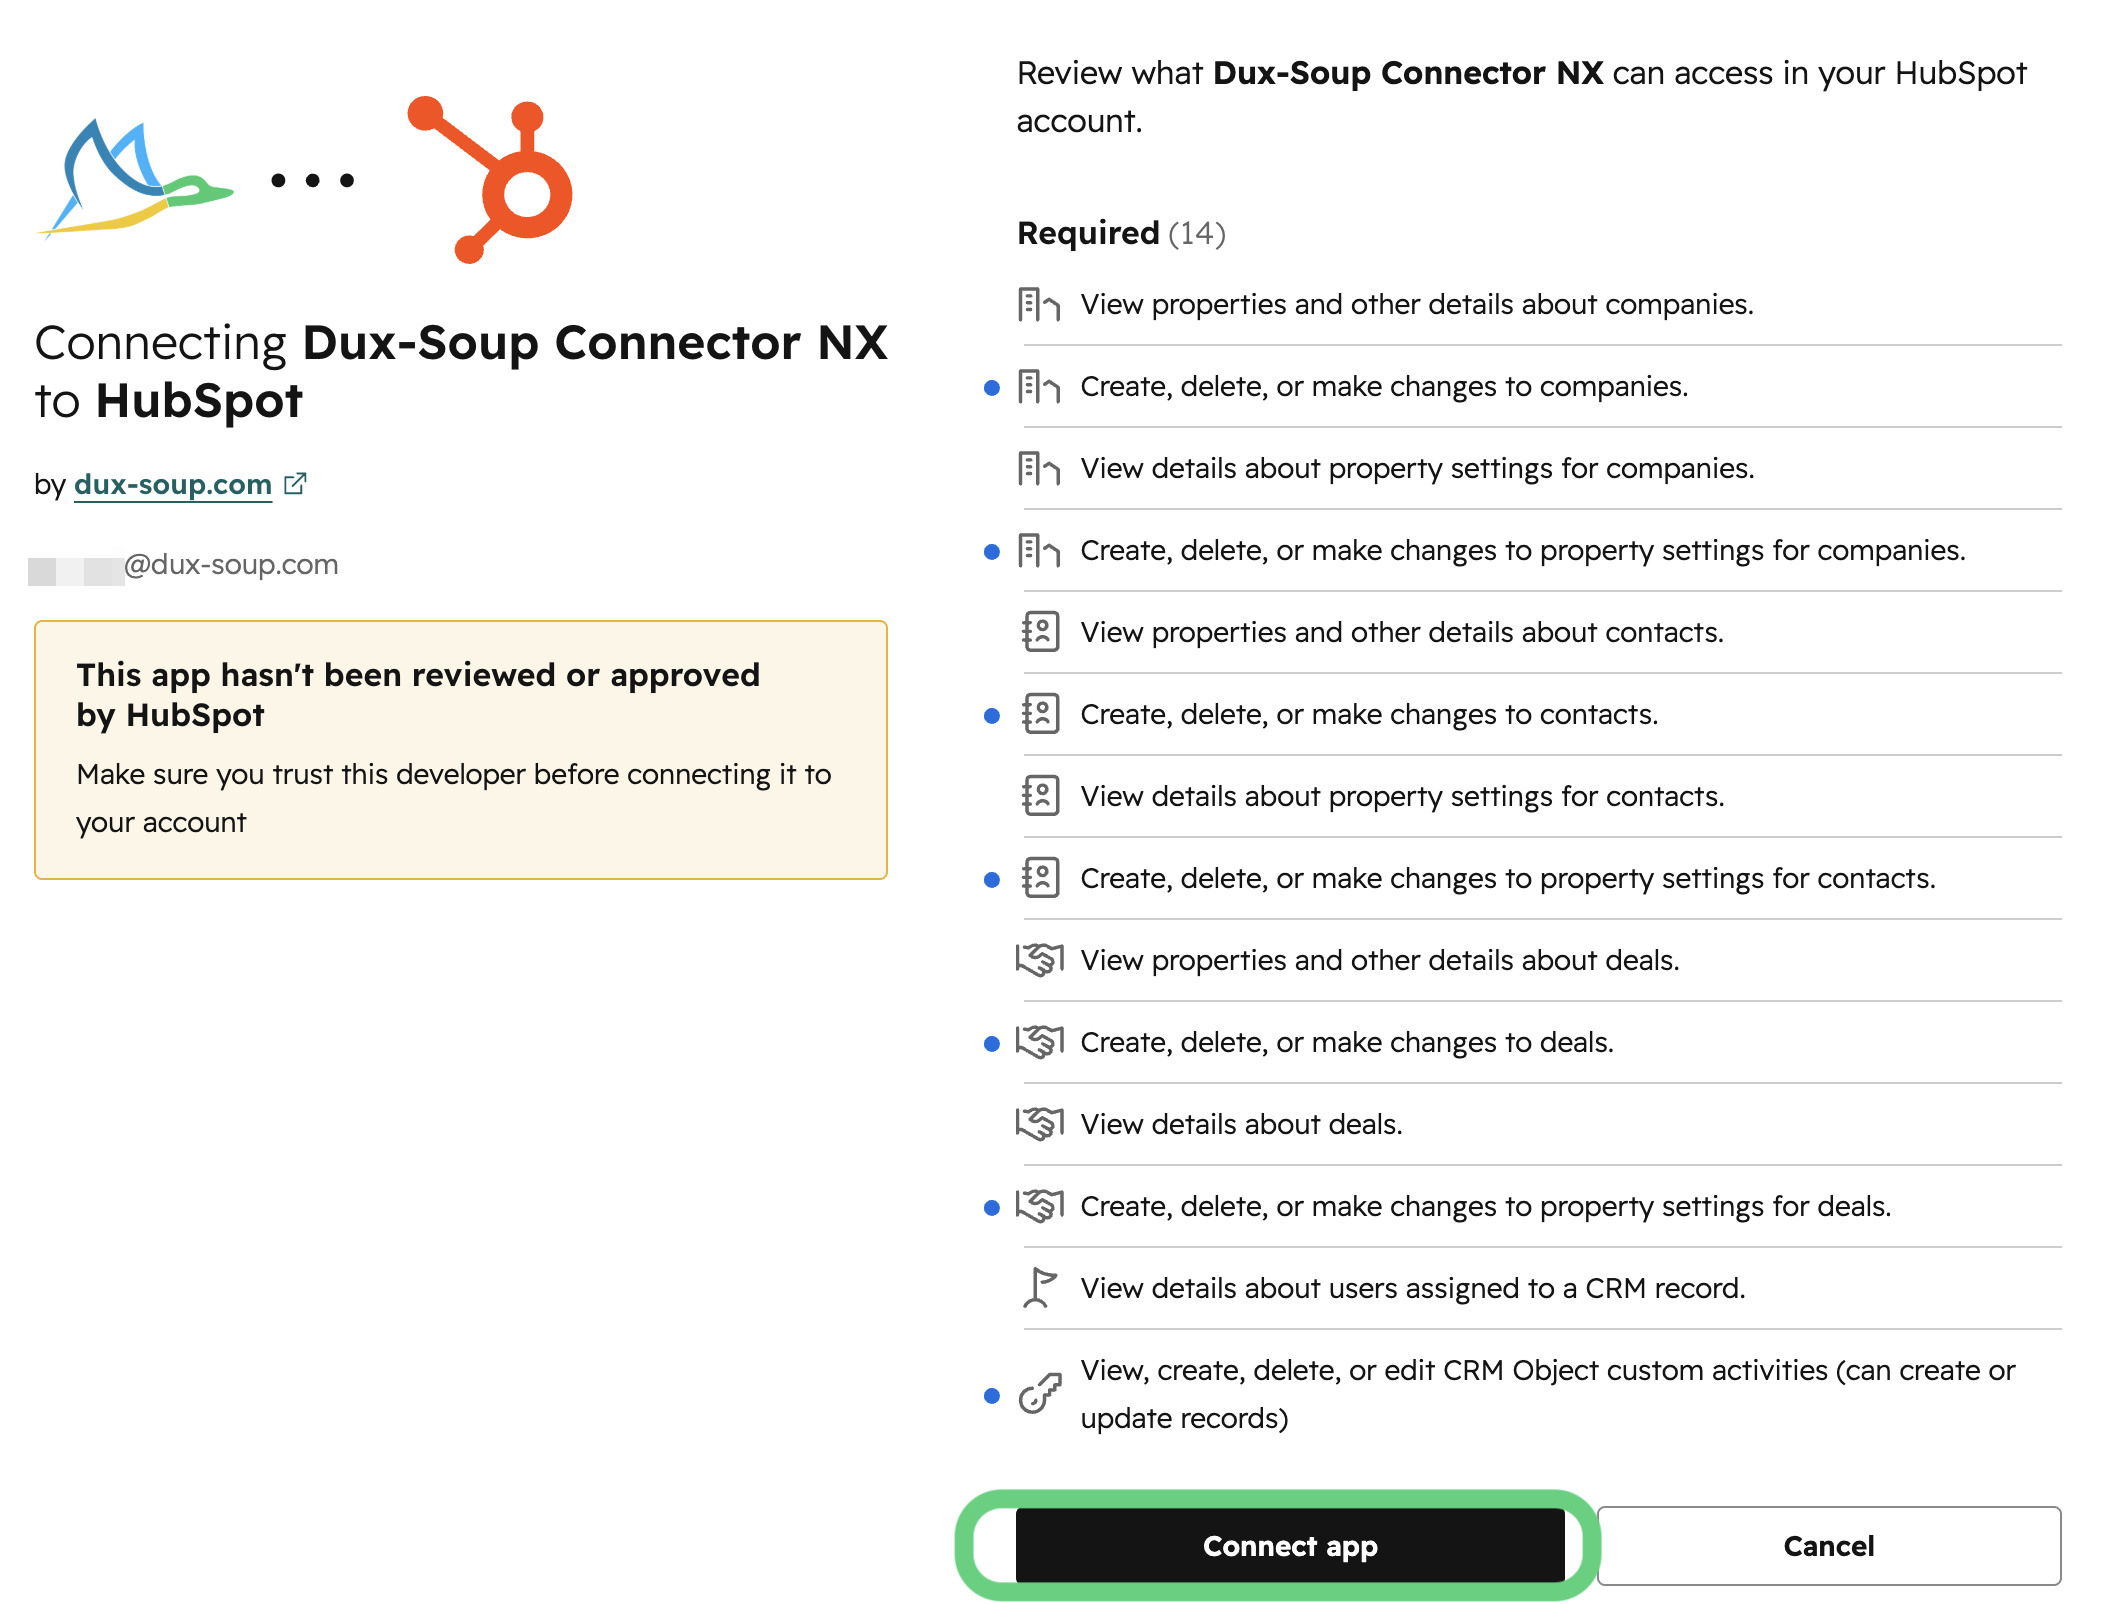
Once installed, your HubSpot connector will appear on the App Connections page in the dashboard. You can now set up the Contact sidebars.
How to set up the connector to show STACKED actions in Contact sidebars
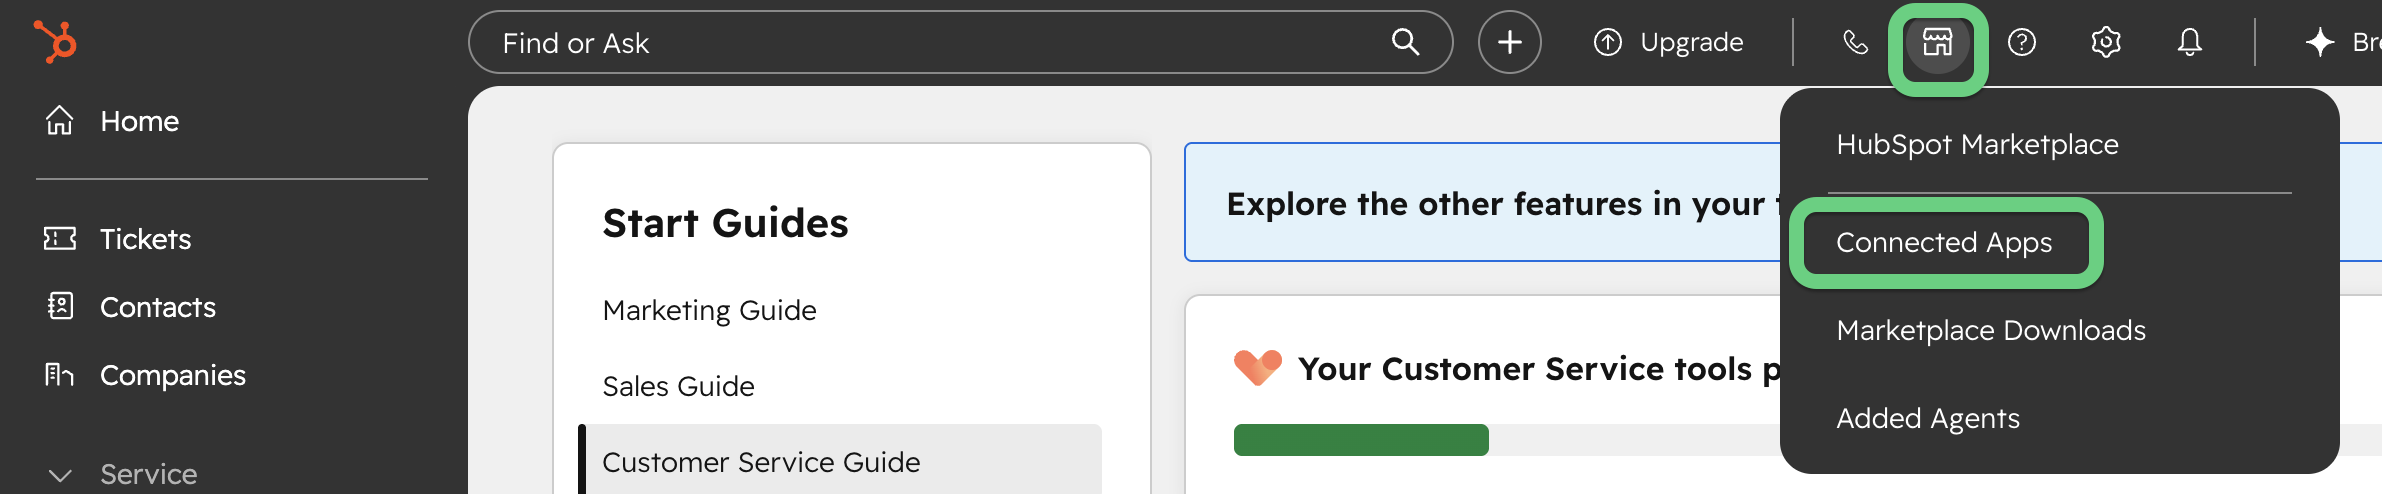
- Go to the HubSpot Marketplace and select Connected Apps:
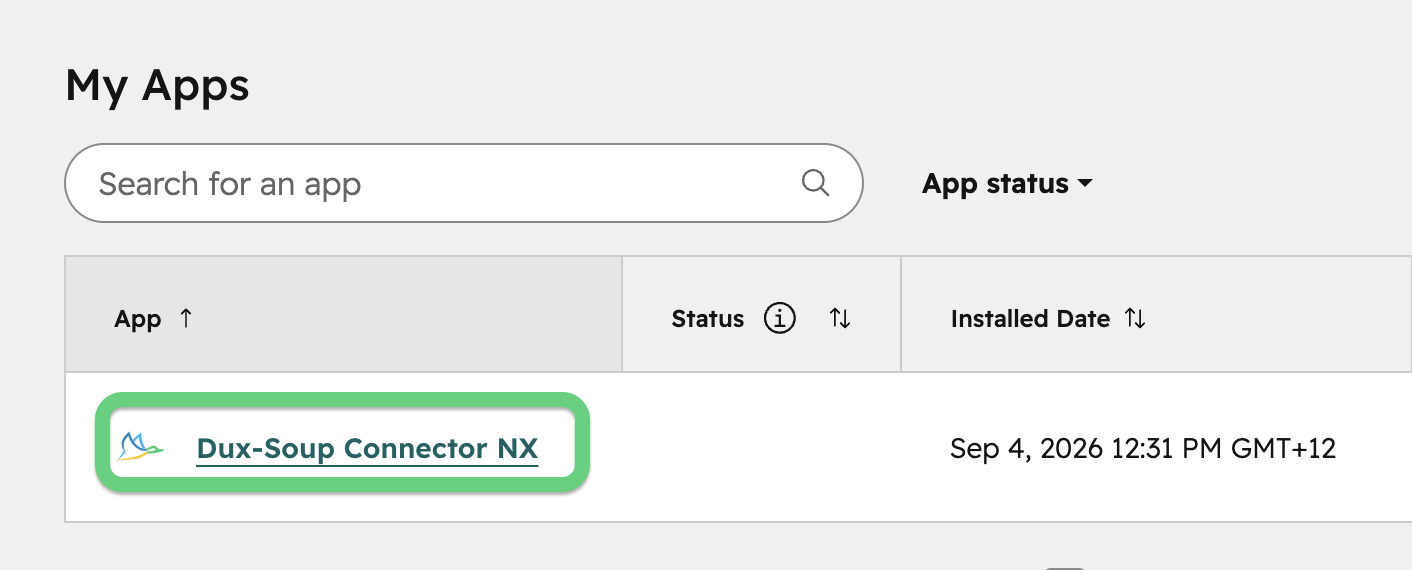
- Click on the Dux-Soup Connector NX
- Go to Settings
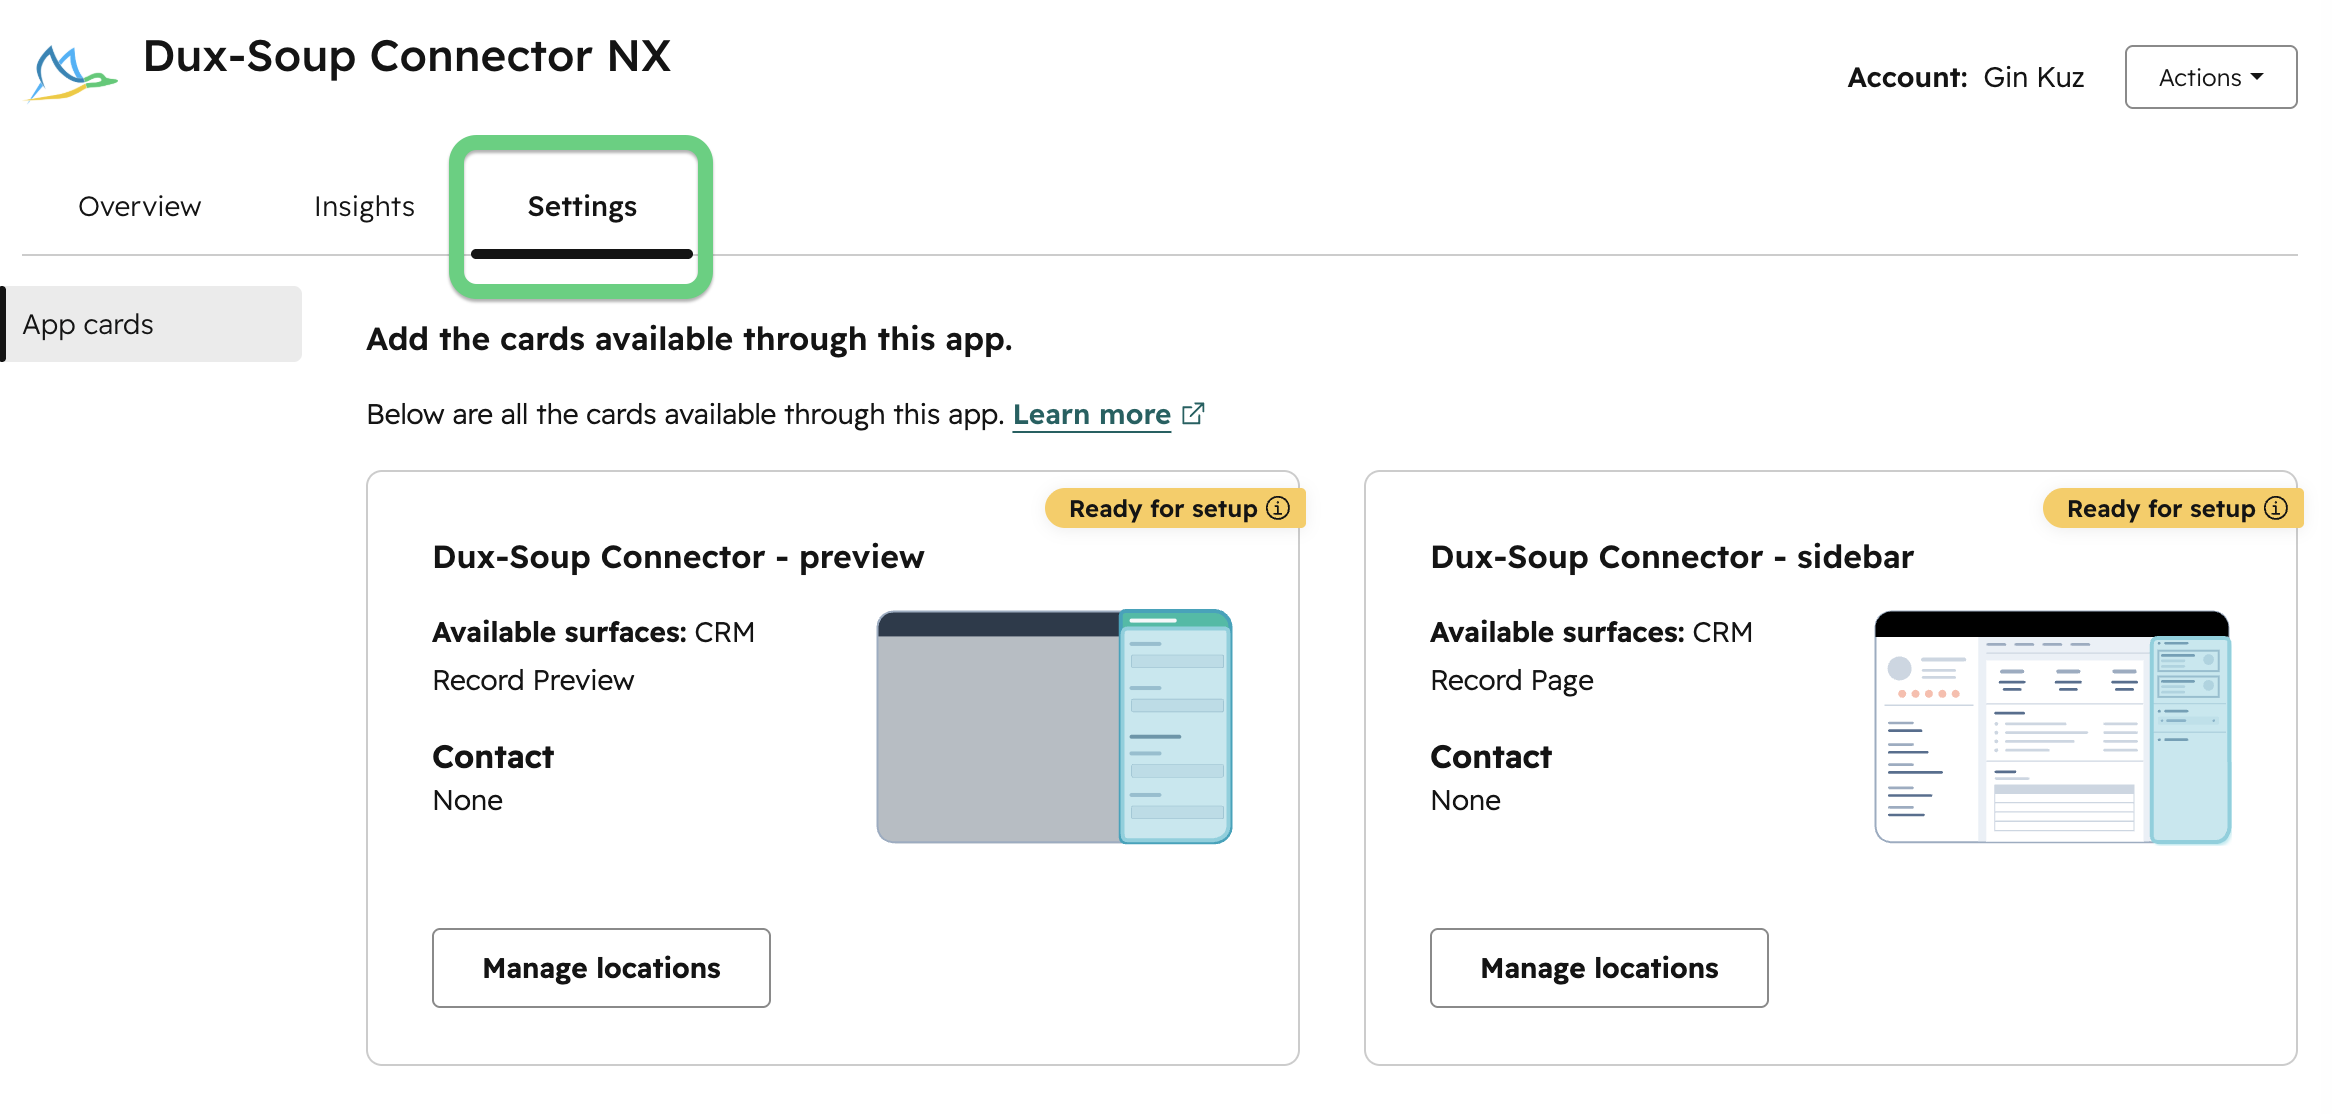
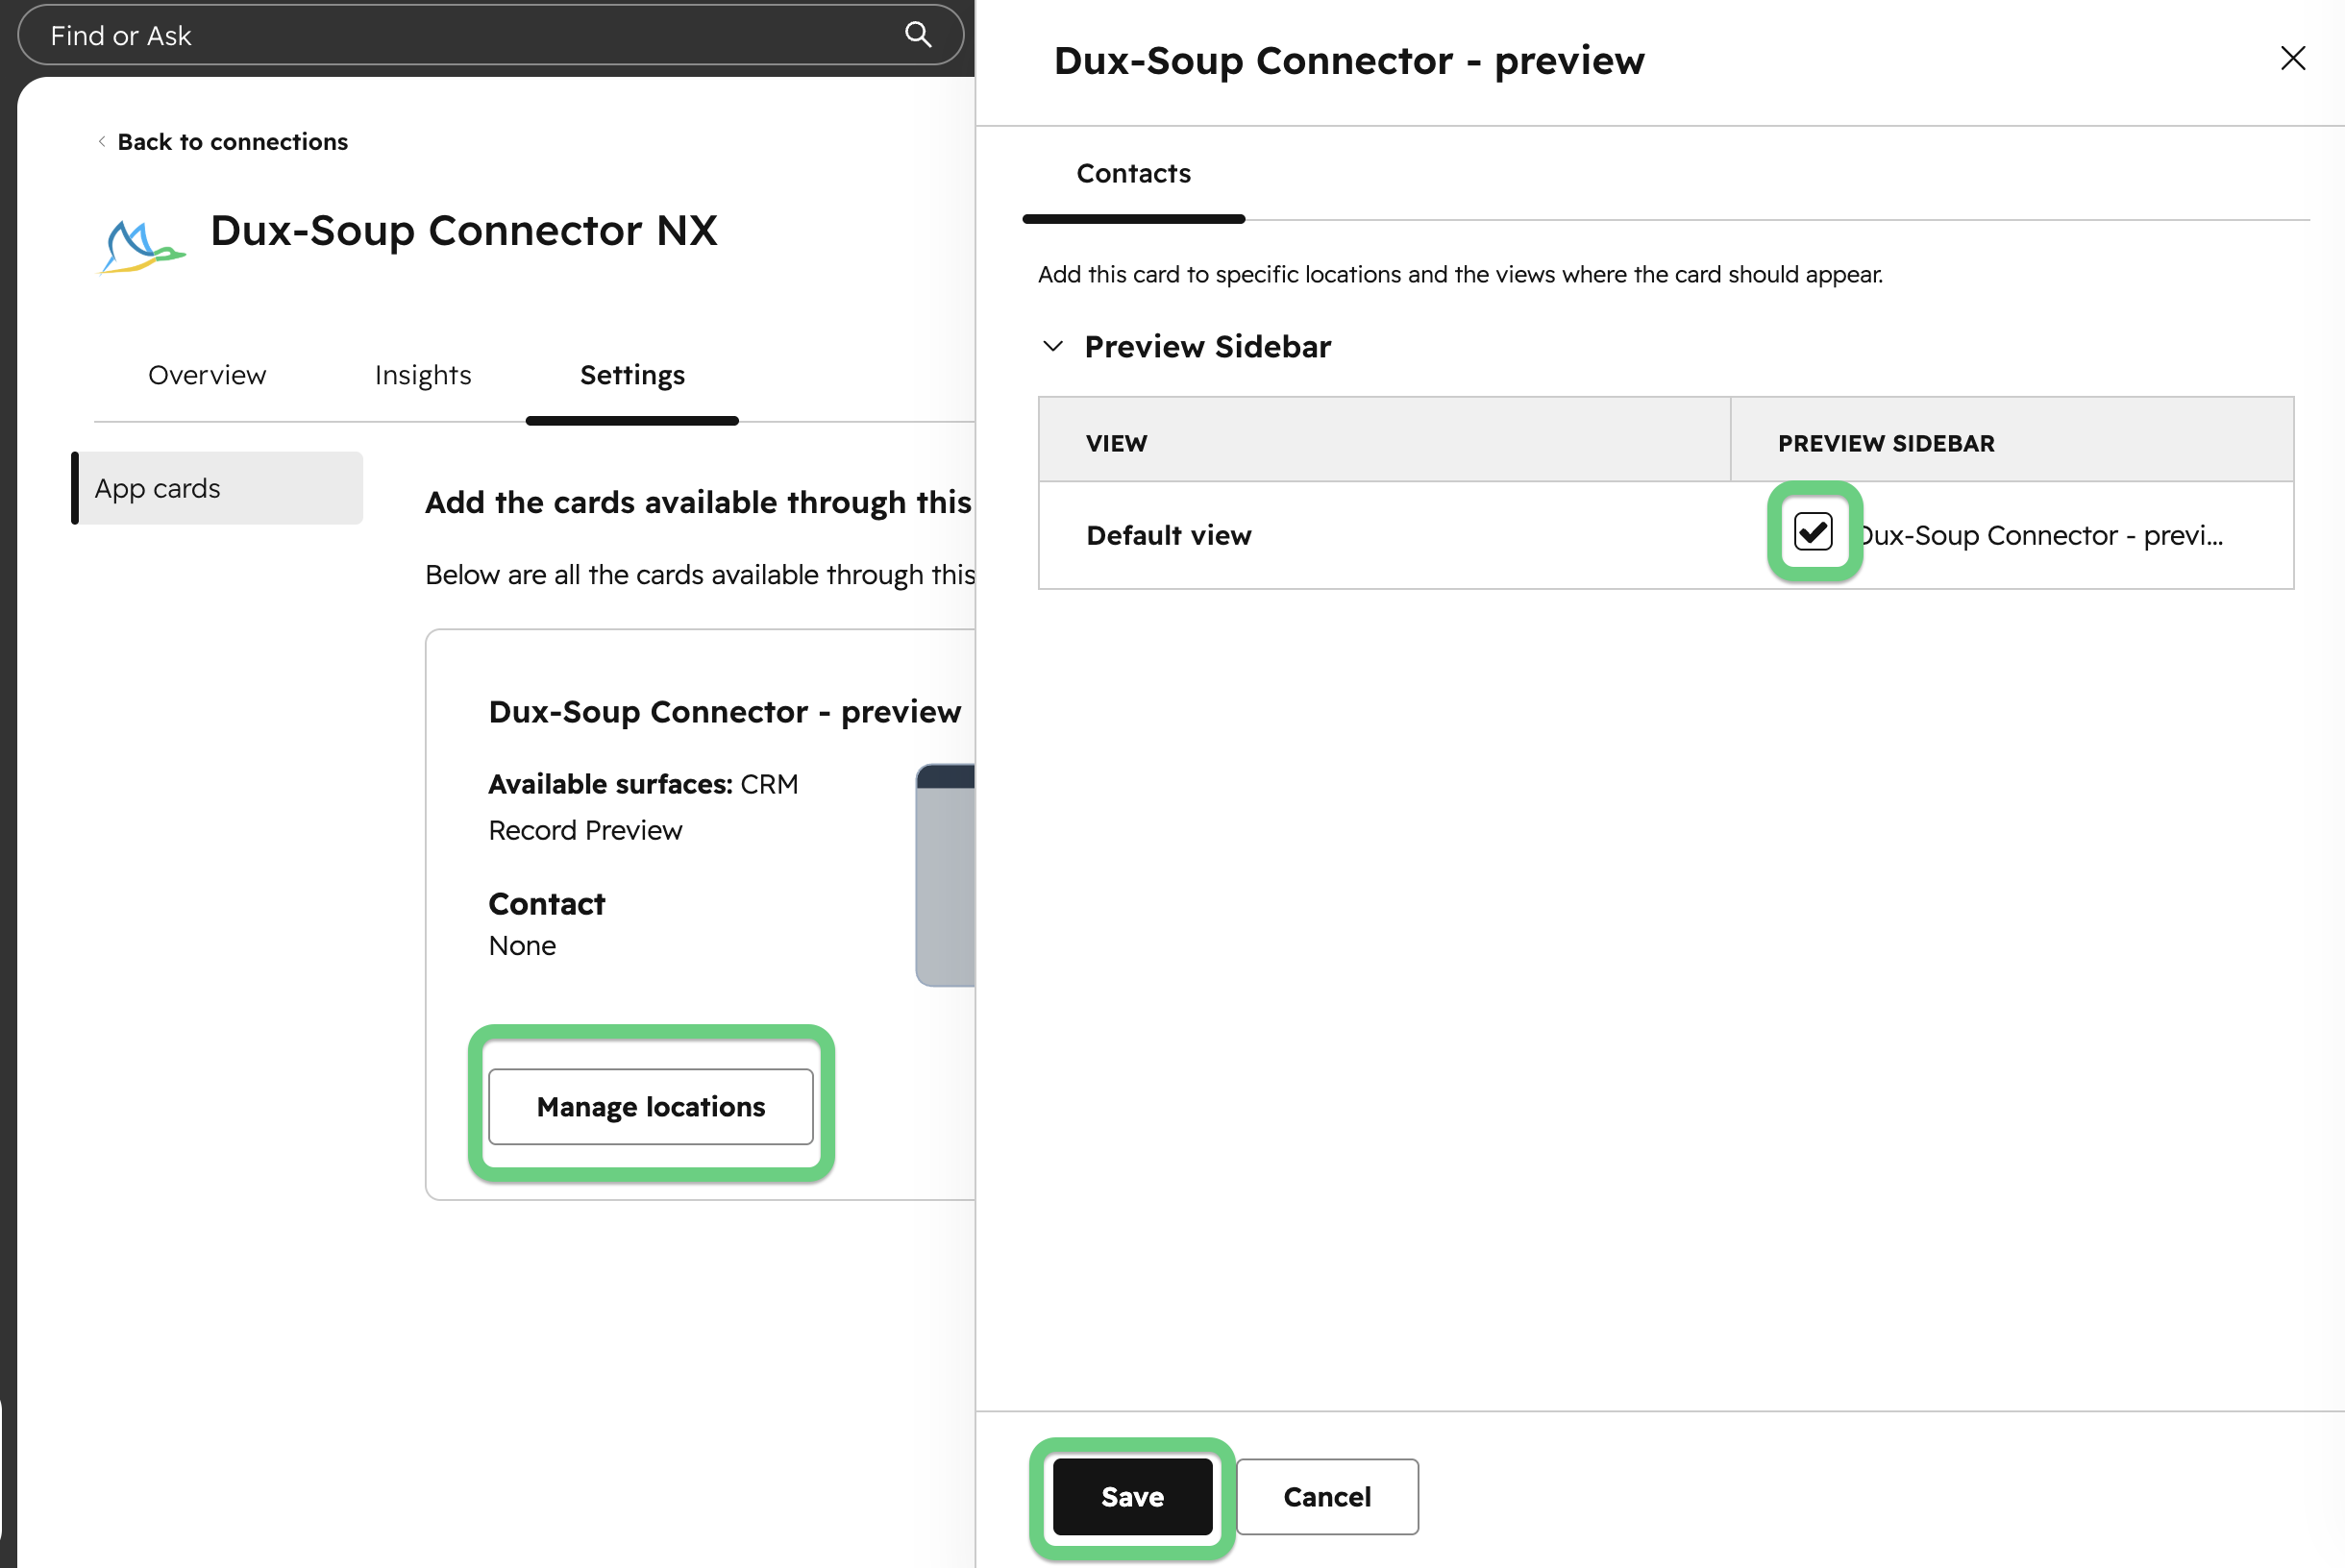
- Enable both the Preview and the Sidebar by checking the boxes next to Default view and saving the changes.
To explore HubSpot integration features, you can check out this detailed article.
Note: Customers who wish to switch from the legacy Dux-Soup Connector (recommended) to the new version must first delete the existing Connector from the App Connections page in the STACKED Dashboard. Then, complete the installation process outlined in this article.
Make sure to keep the old Connector in the Connected Apps page in HubSpot so your previous Contact timeline events won't disappear.